Panel lining and weathering for dummies
I used to be into model kits years ago, but I haven't partaken in the joys of assembling for a while now. Recently, a series of kits I've been waiting for has released, so now I'm getting back into this hobby Thing is, I never did painting on mechs, and the painting I did do... was of dubious quality.
So I decided to make a text on what I did with my kit!
- A quick review of the kit I used for this.
- Panel Lining this bitch up!
- INTERMISSION: Size comparison and posability of the kit.
- Lights painting.
- Matte coating spray.
- You need dry, warm, well ventilated environment. High humidity makes coating look foggy. The coating is also VERY smelly. The kit won't smell after drying, but ones unventilated space sure will.
- Warm the spray can in warm water prior. IDK why, but it helps.
- Apply coat from distance. 20 cm from the parts can do. Also, there is no need to be delicate with the spray. Go nuts on it!
- Painting the weathering.
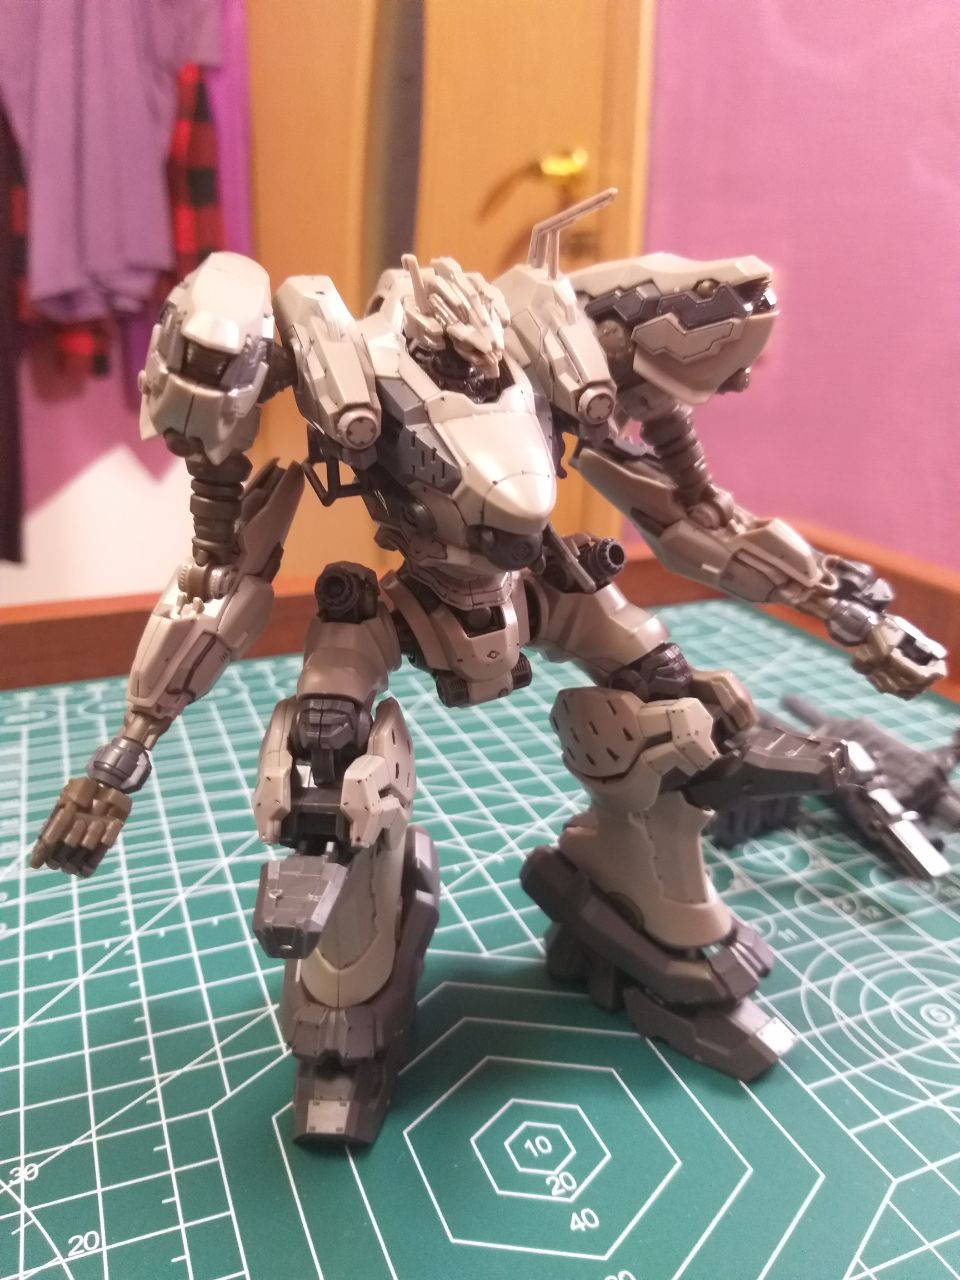
The kit I chose, or rather waited for about a year is... Nightfall from Armored Core VI. I was waiting for cheap and good AC kits since that game came out. Why?.. well, to say I love design philosophy of Armored Core would be an understatement. To me, these look way better than Gundams, which look like suits (hence their series's full name). Meanwhile I want my mechs to be big fucked up war machines, and ACs are just that! Neat!
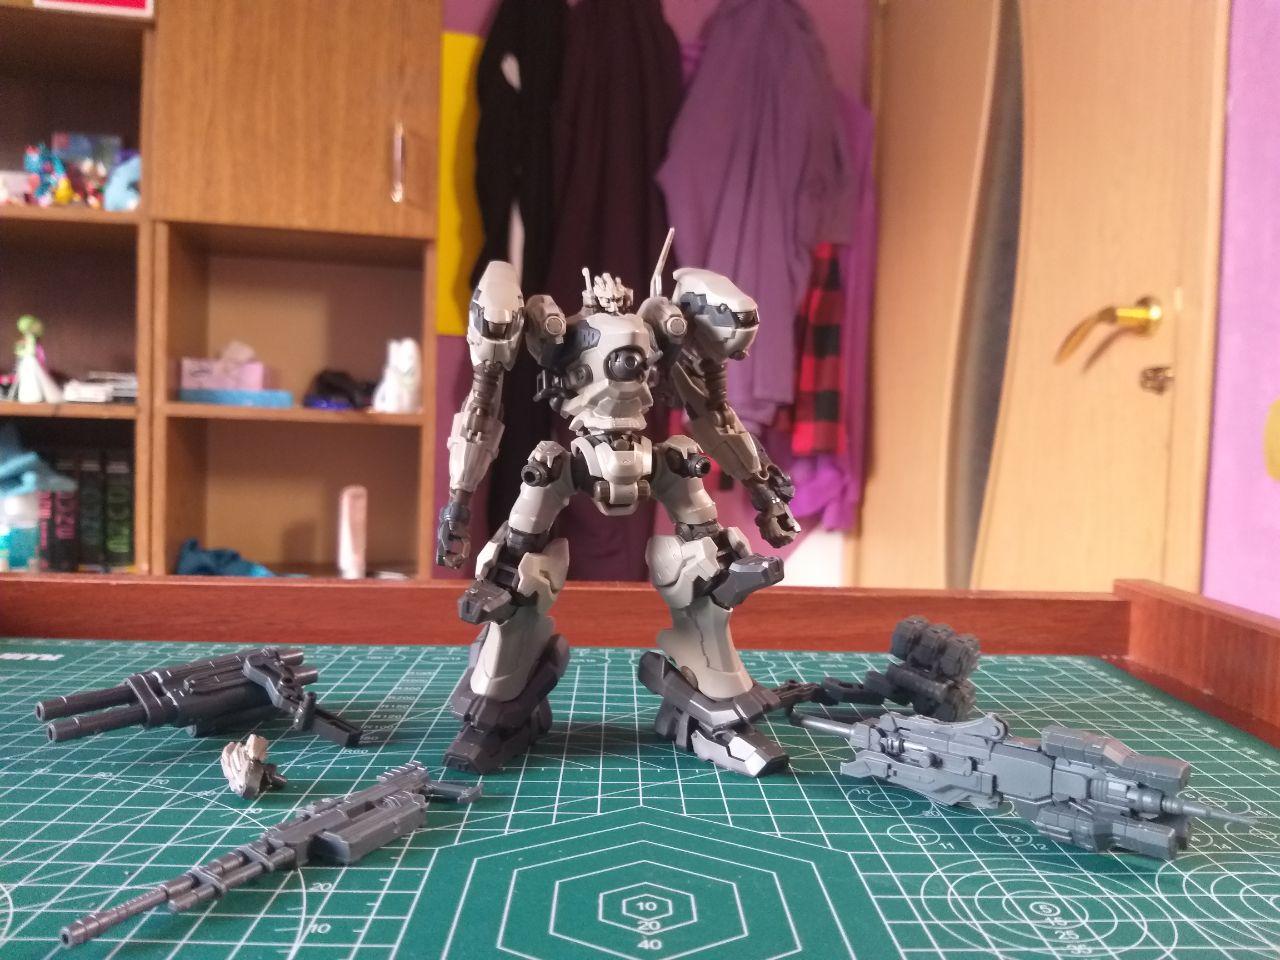
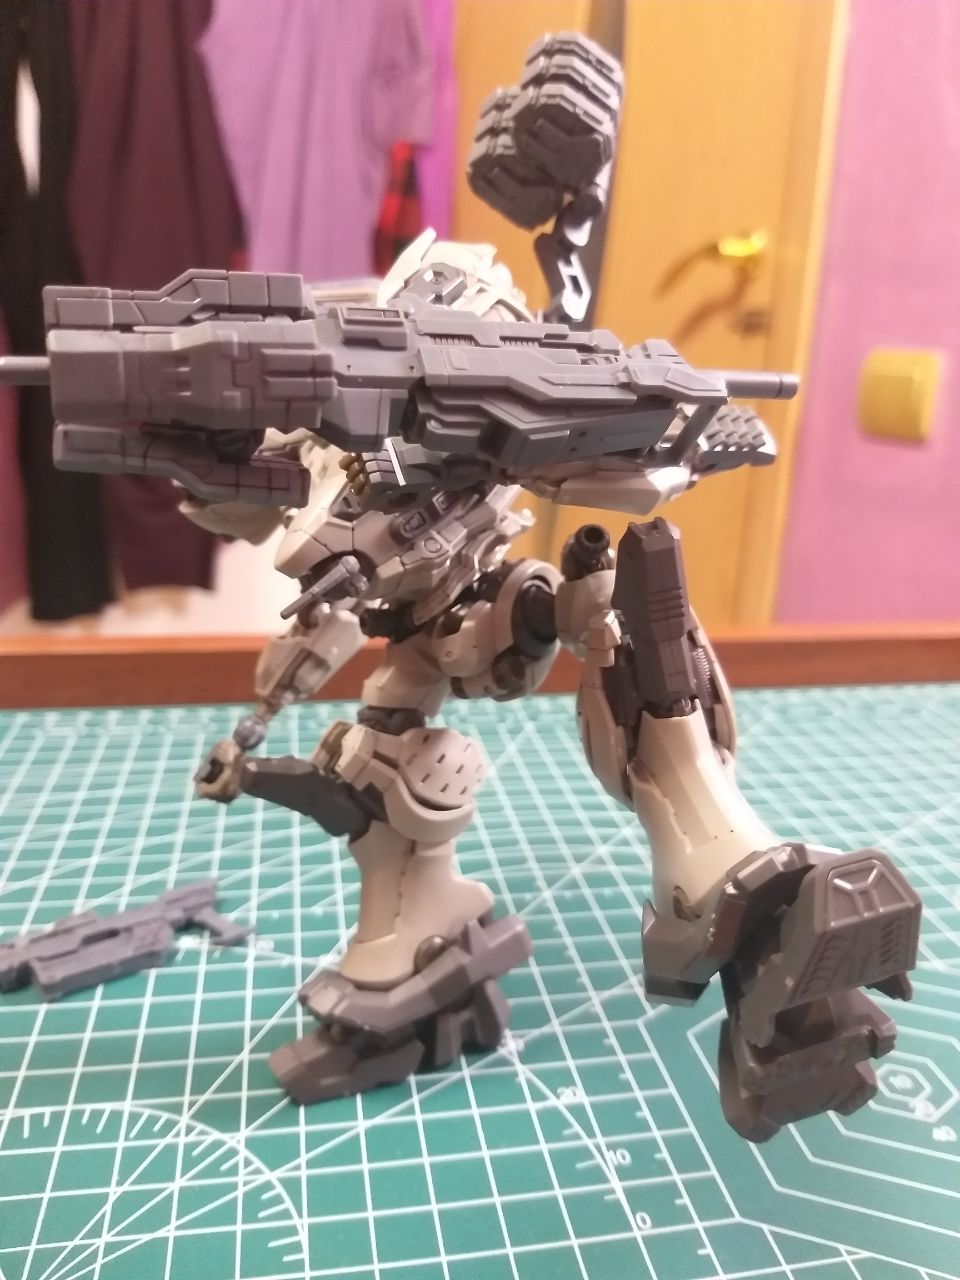
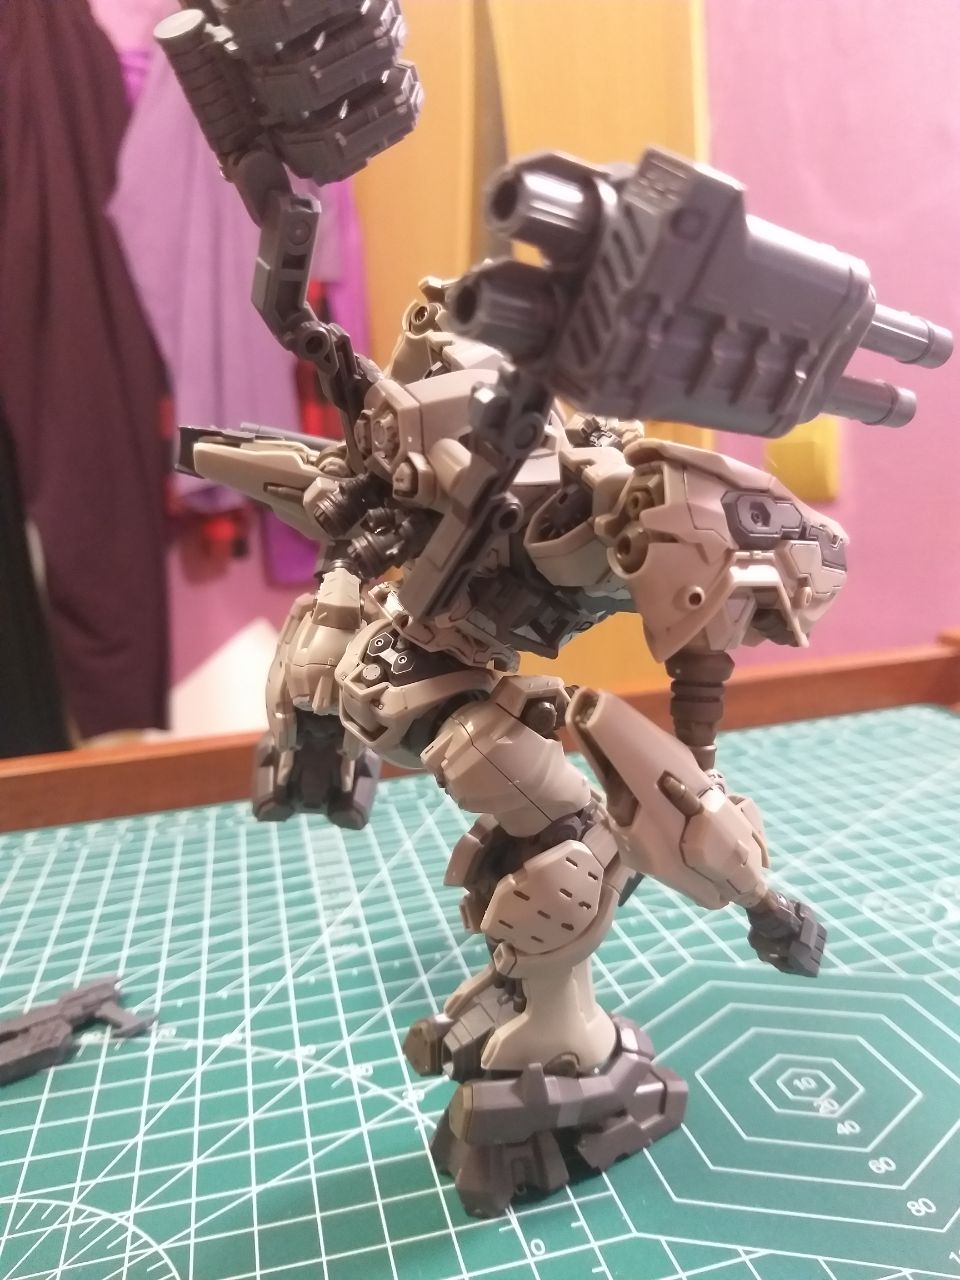
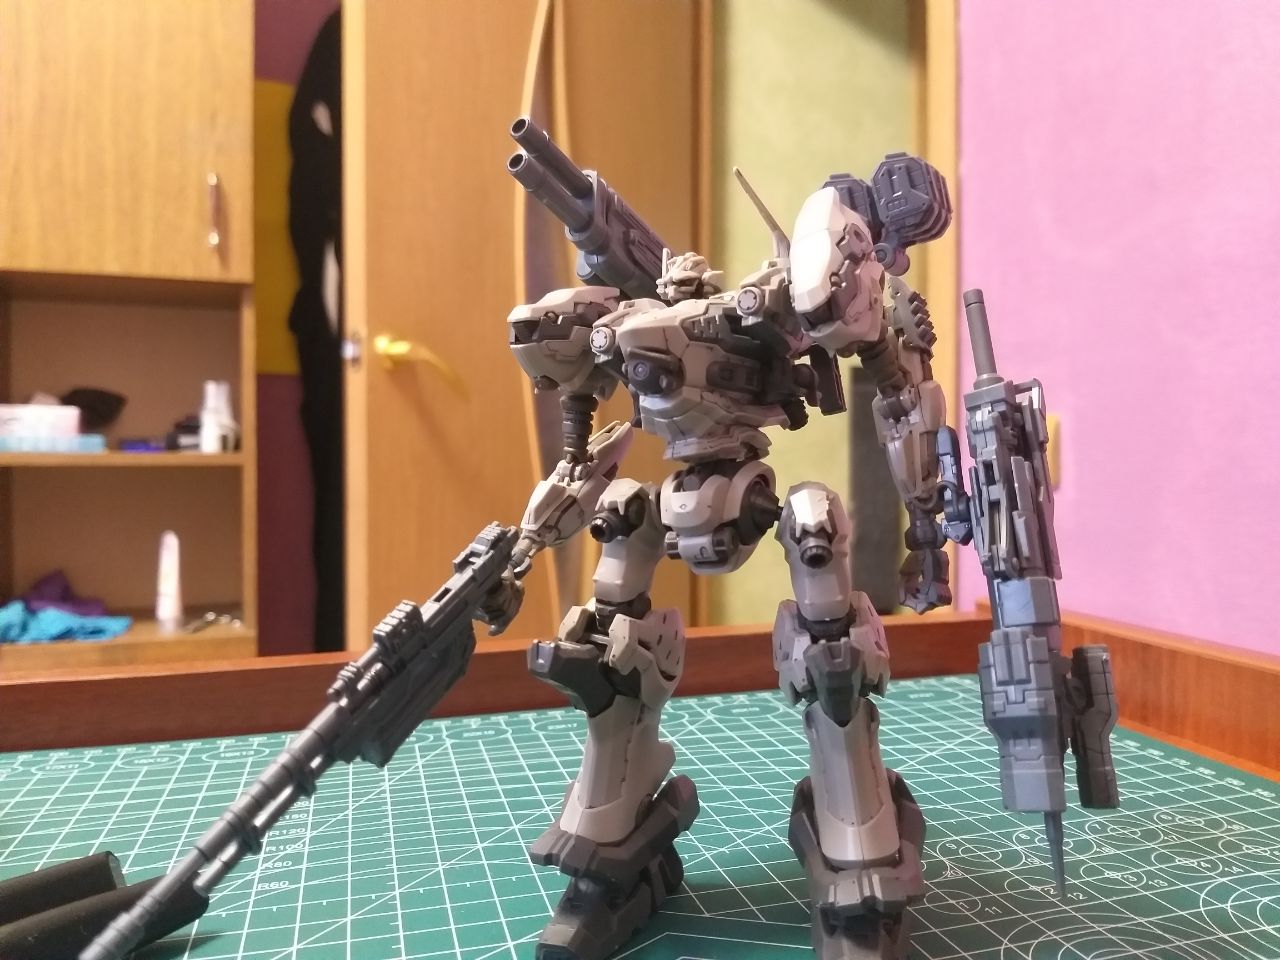
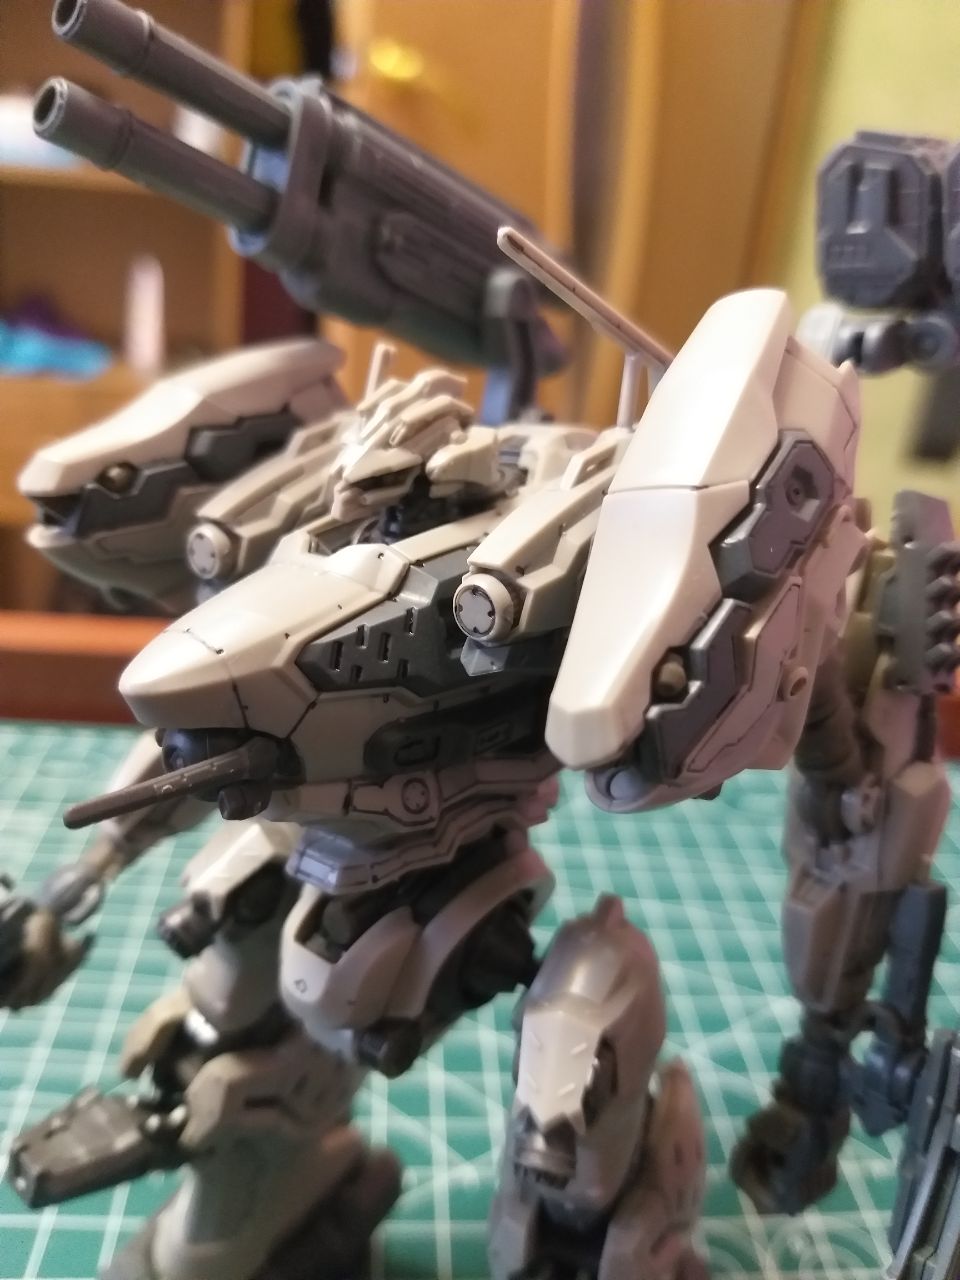
Anywho, Nightfall. First of two Armored Core 30 minute mission Kits, Alongside Steel Haze (and a weapon kit too). 30mm is a series of plamos meant to be simple and configurable builds. This is an ideal case for ACs as the large point of these games is to configure your mech to your tastes, or a situation. That said, it most certainly did NOT take 30 minutes to build this one. But it's really not a problem in any way tbh. When you're done assembling, you get this:
(Click on images for a better look)
It looks REALLY good even as is. But it can be even better 'w'
First of, what even is panel lining anyway?
Well, it is a process of applying usually black paint to tiny crevasses in the molds of the build. This is done to make parts of the build pop out more. These are, after all, supposed to be different sheets of metals and bolts and else. Nightfall has LOTS of them, Tiny channels, and even smaller circles.
This process is actually very easy, ridiculously so. In fact, you technically cannot screw it up! There are multiple ways, but I chose the easiest and the most dirty to do: a thin (0.3 mm) black marker (0.5 could work too, but you want to use smear as least space as possible) and a dozens of cotton swabs with a drop or two of pure spirit on them.
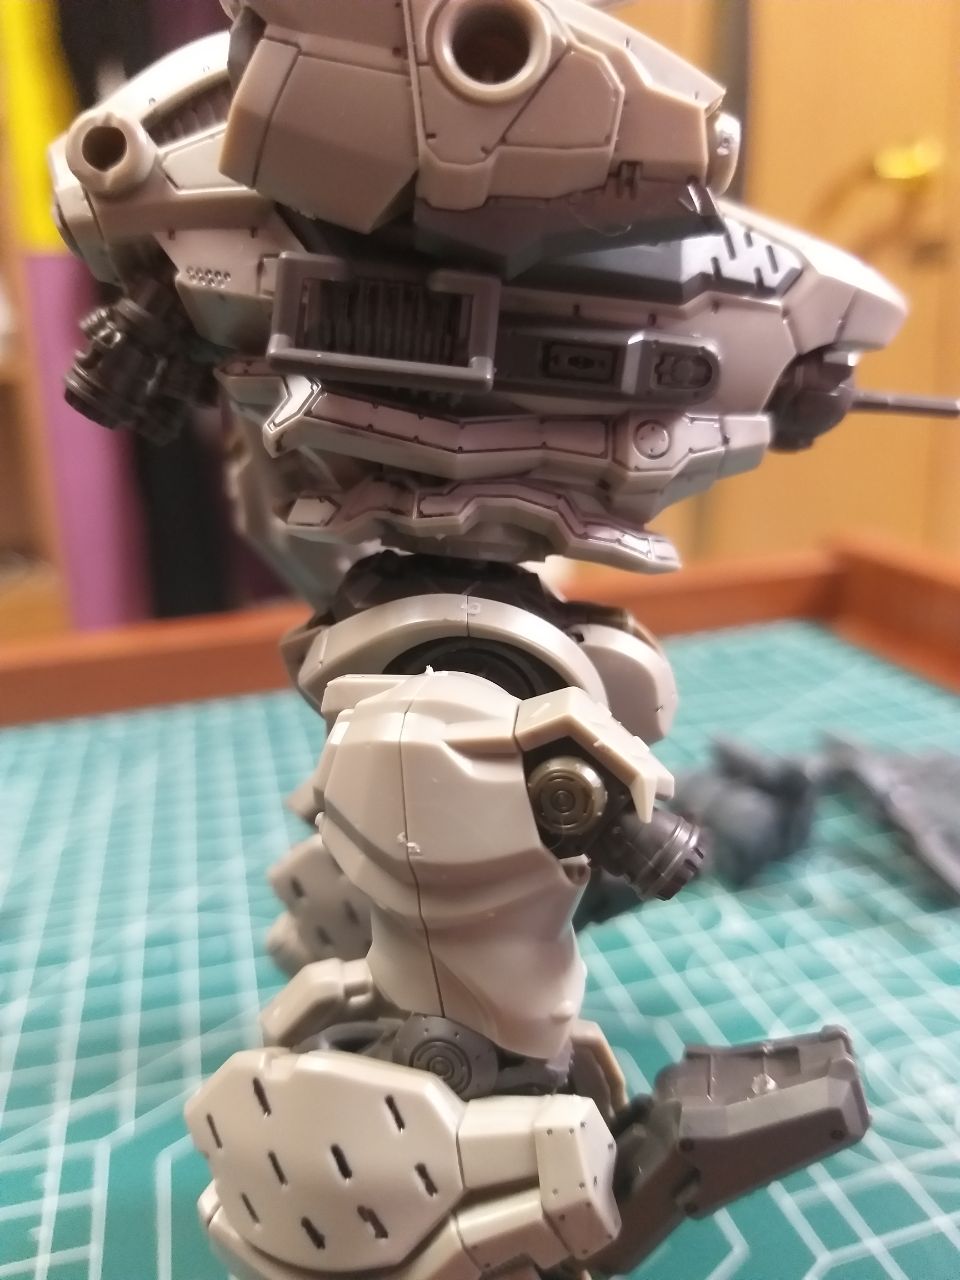
What you do here is that you smear a bunch of black lines on these crevasses, and then you wash the excess away with the tips. The downside of this way of panel lining is that you will leave a whole lot of dark smudges on the model, which are to be washed away by the same tips. I tried to get rid of most of them, but chose to keep some of the least bad ones, because they kinda work as weathering, and totally not because I did panel lining after 4 hours of building with few breaks. This is probably seen as an amateurish move in plamo circles, but I don't care. They look good to me dammit!
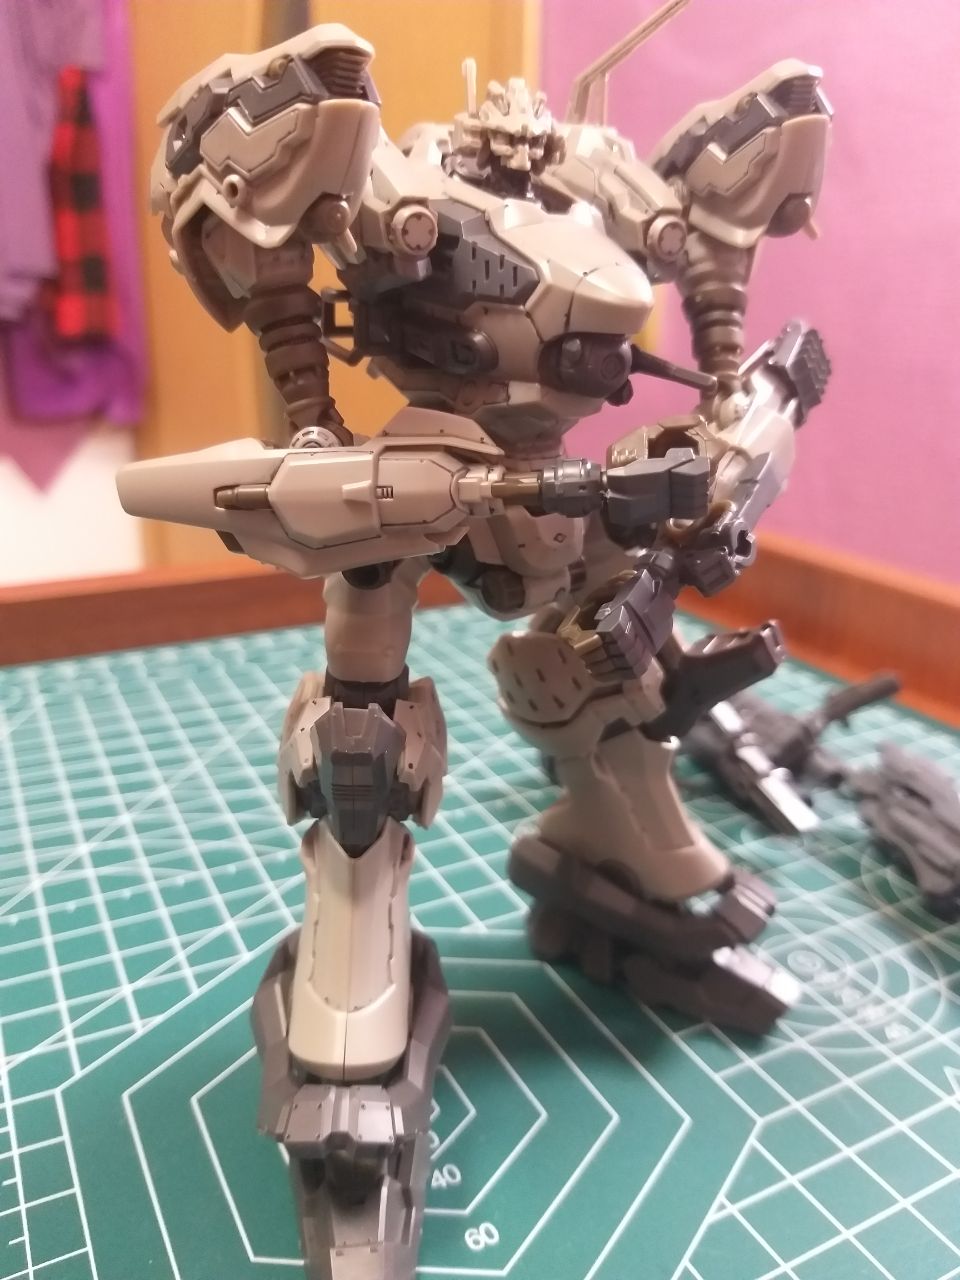
Anyway, this is the result:
Talk about an improvement! This easy task already does a lot for this kit, but we can do even more 'w'
Uh whoops I forgot to talks about this in the first segment, so let's do this now.
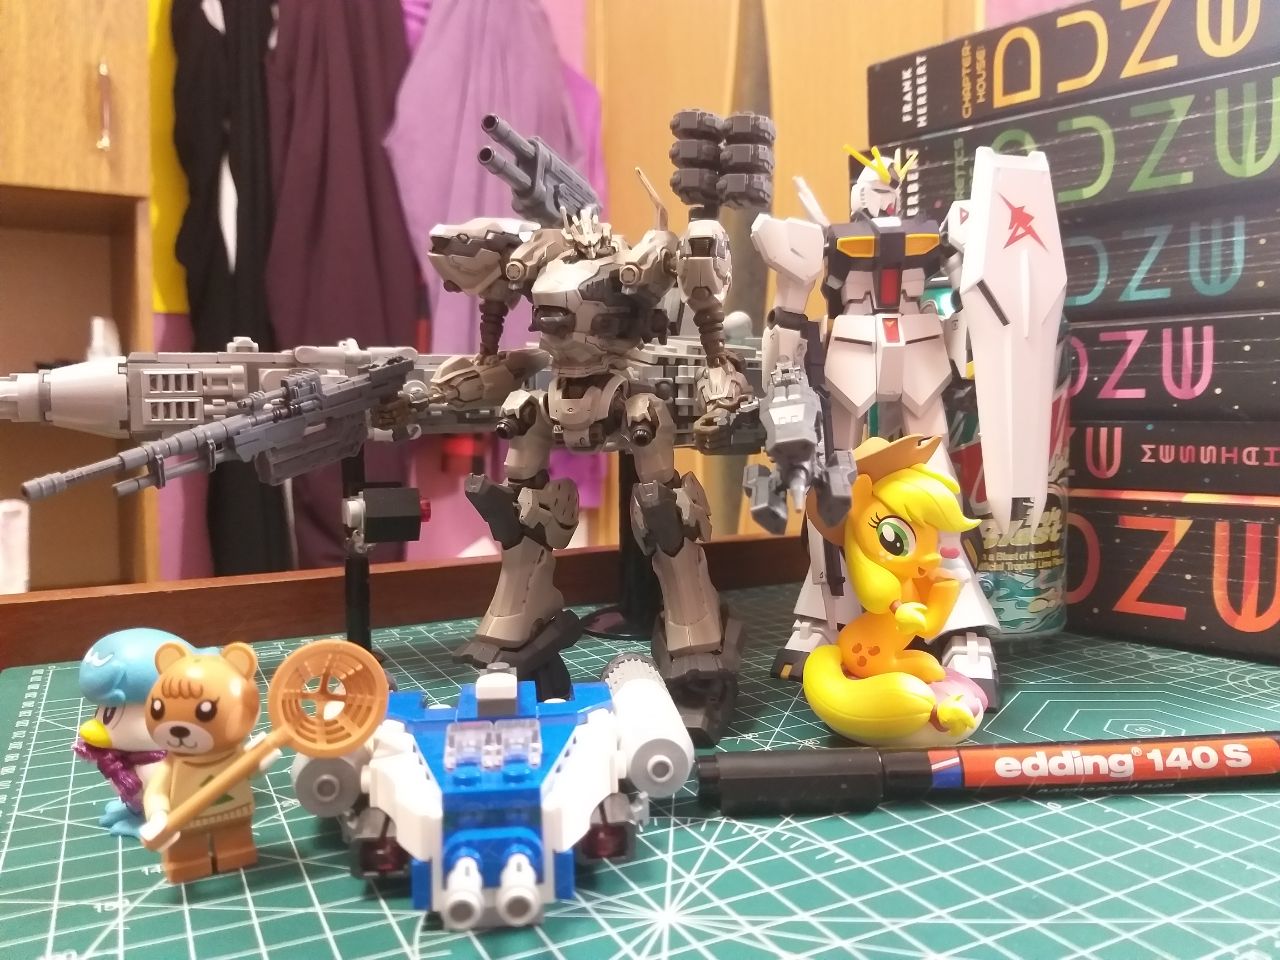
This is What Nightfall looks like to a few other things:
Behind it is Perseverant Three, and next to are Takara Tomy Quaxly figure, LEGO Animal Crossing Maple minifig, the thing scalpers see in their nightmares, marker I used for panel lining, Popmart Applejack figure, BG Gundam kit, average soda can and a whole set of entire Dune saga.
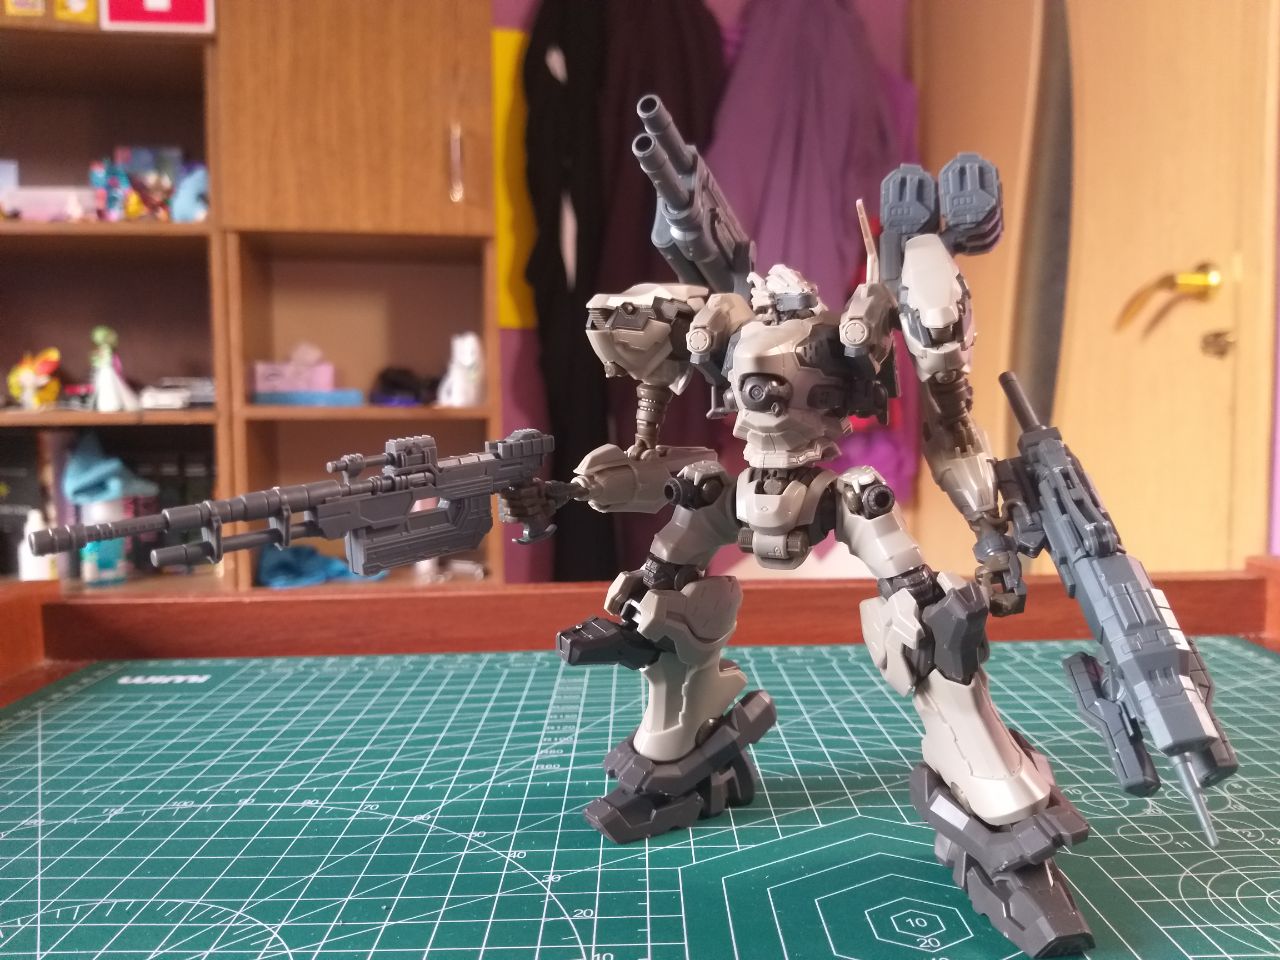
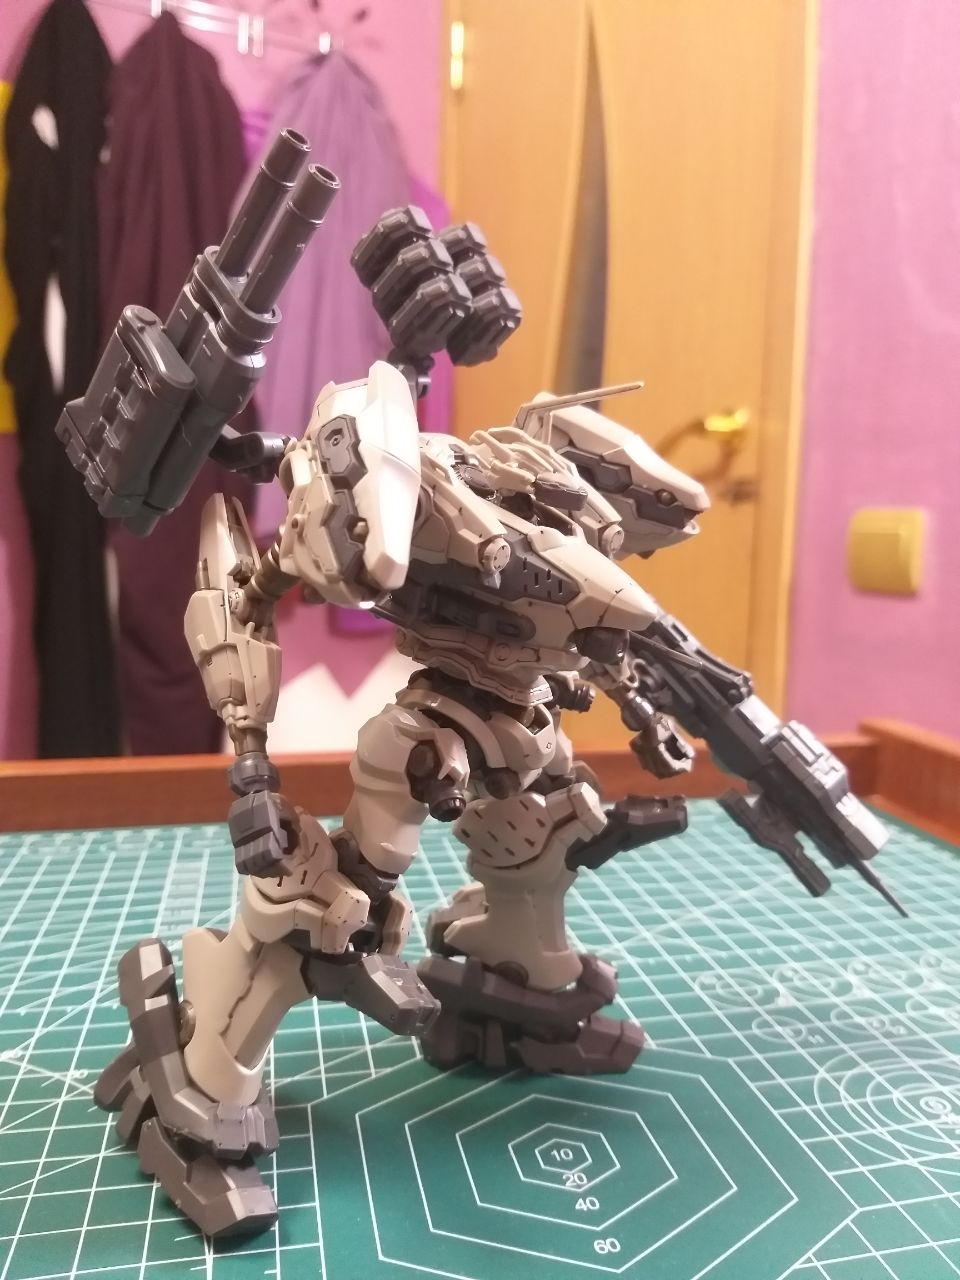
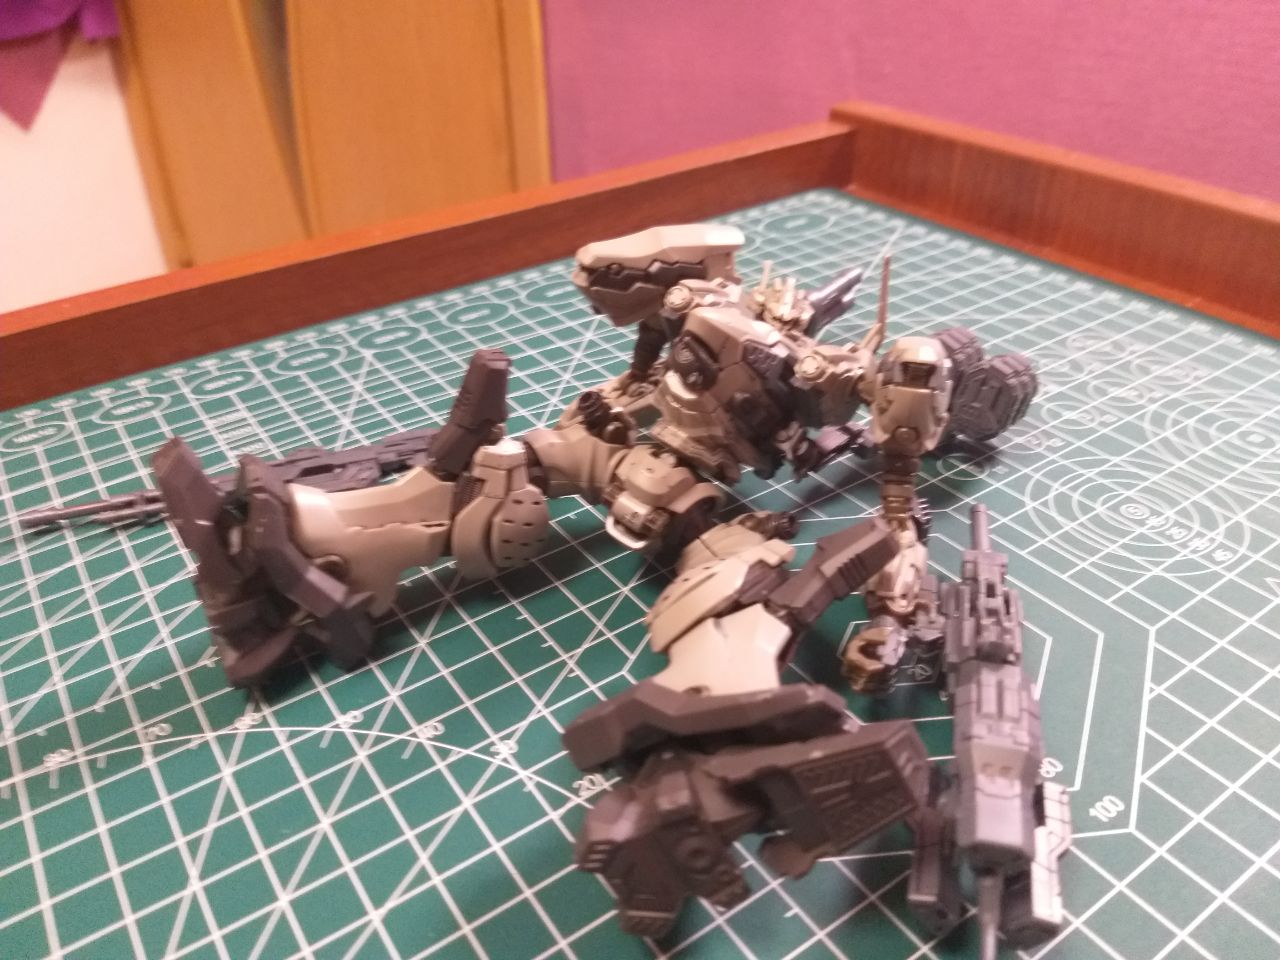
What about poses then? Well:
It's posable alright. And these are without the stand, too! In fact posing Nightfall is really fun!
Now, where were we?
My initial plan was to do all painting in this step, but as I discovered at the last possible moment, A coating that supposed to make things shine less, makes things shine less. So metallic colors come last, but UV red paint can be done now.
For painting I used DSPIAE markers. Unfortunately, this one turned out to be a dud. The color itself is fine, but the marker brush seems off. My goal is to get another UV red later to fix up the lights. At least the eyes turned out really good!
Matte coating spays are used to make things less shiny. For plamos, this helps in making them look less plasticy.
Heres some advice for the process:
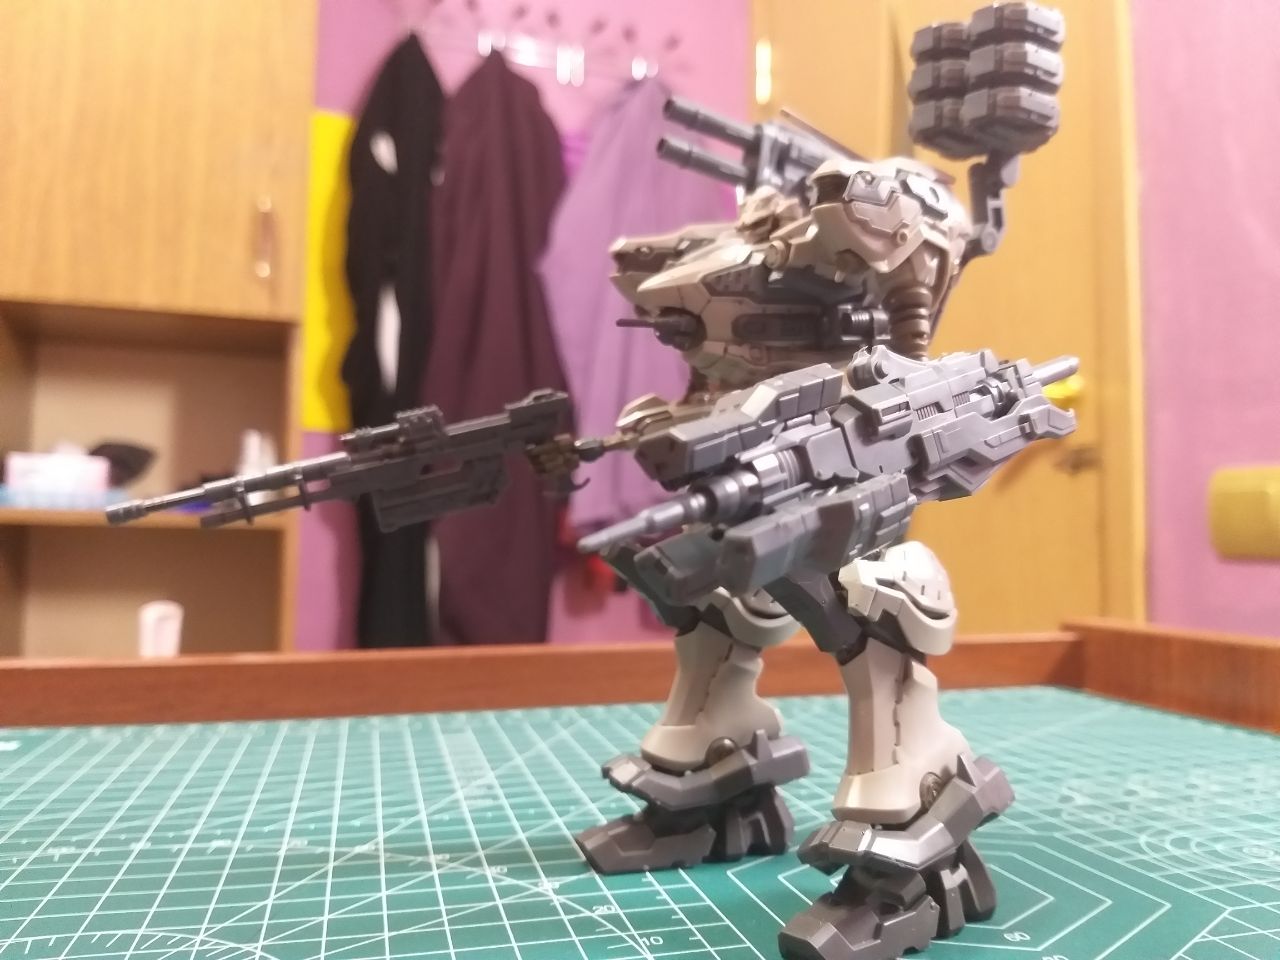
This is how it turned out:
This is where I shall finally address that my phone camera is total shit. Sorry for bad photos, they don't do coating justice!
Weathering can mean many things. What I mean in this context is chipped off / burned off paint on the kit. Such effect is achieved by applying metallic paints.
Once again I used DSPIAE markers, like the UV one. Luckily, these two ended up being not just good, but Excellent! They are very easy to use, and just as easy to remove if needed.
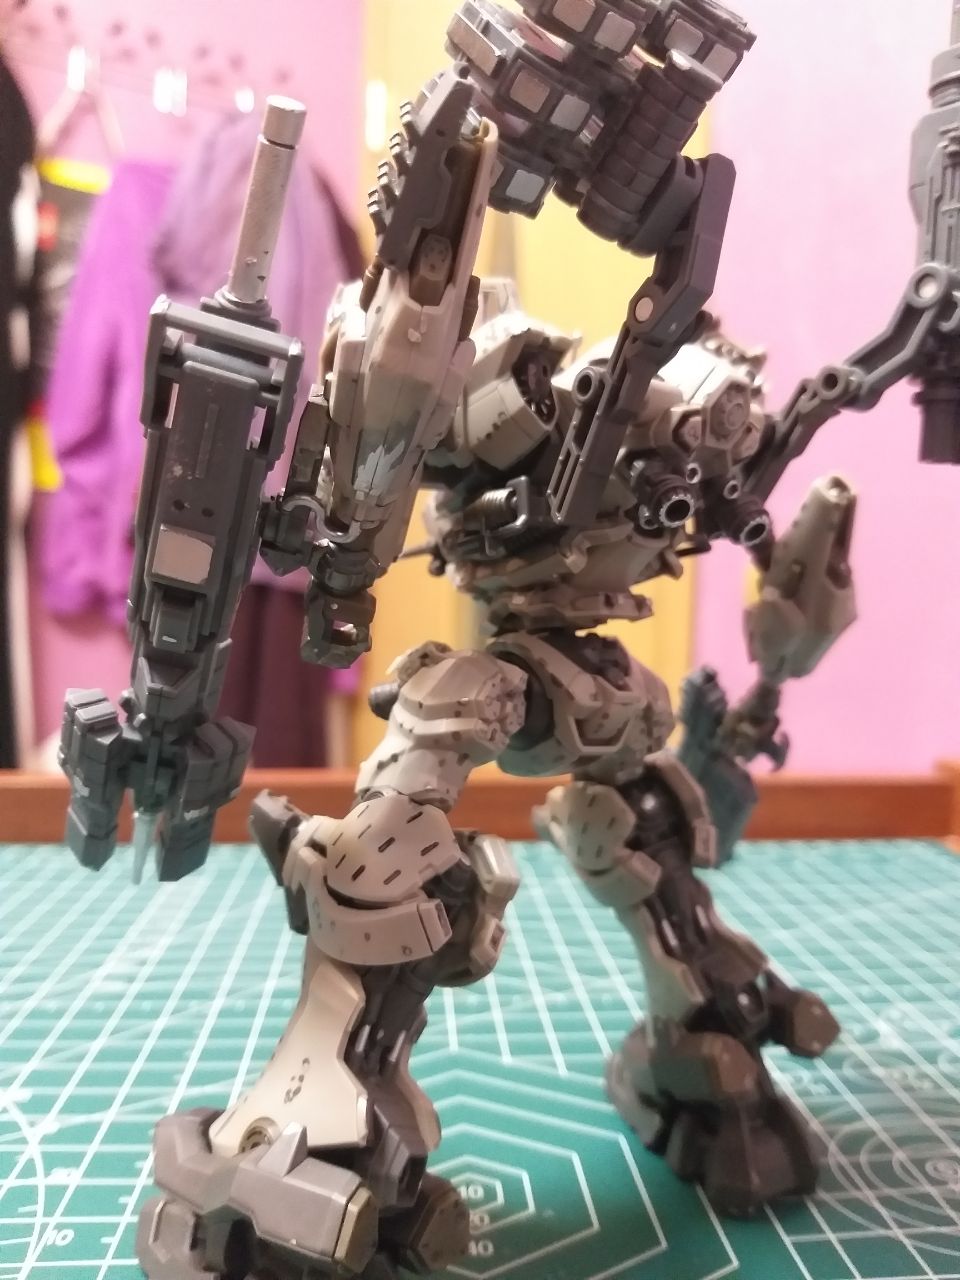
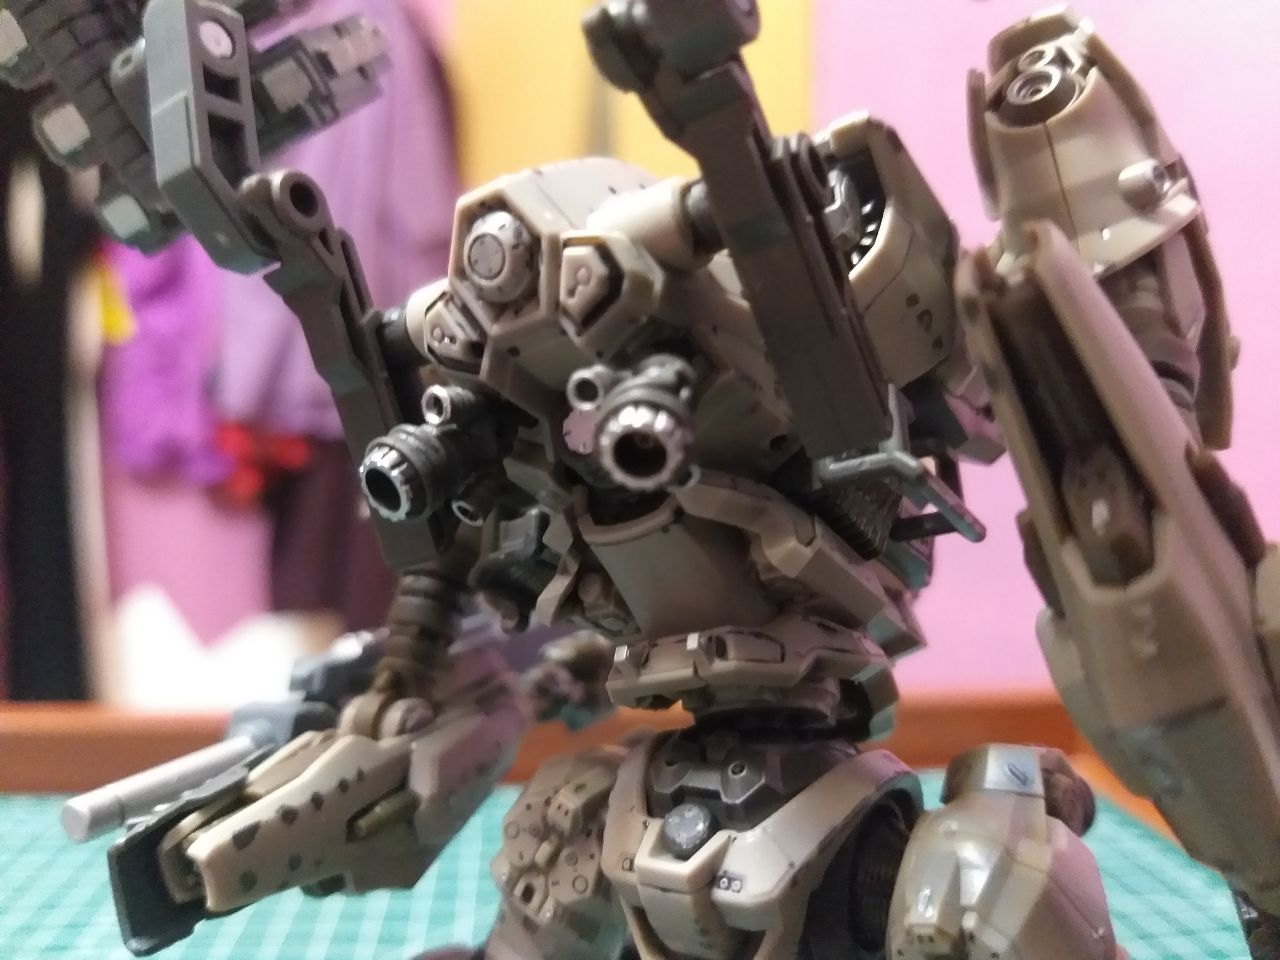
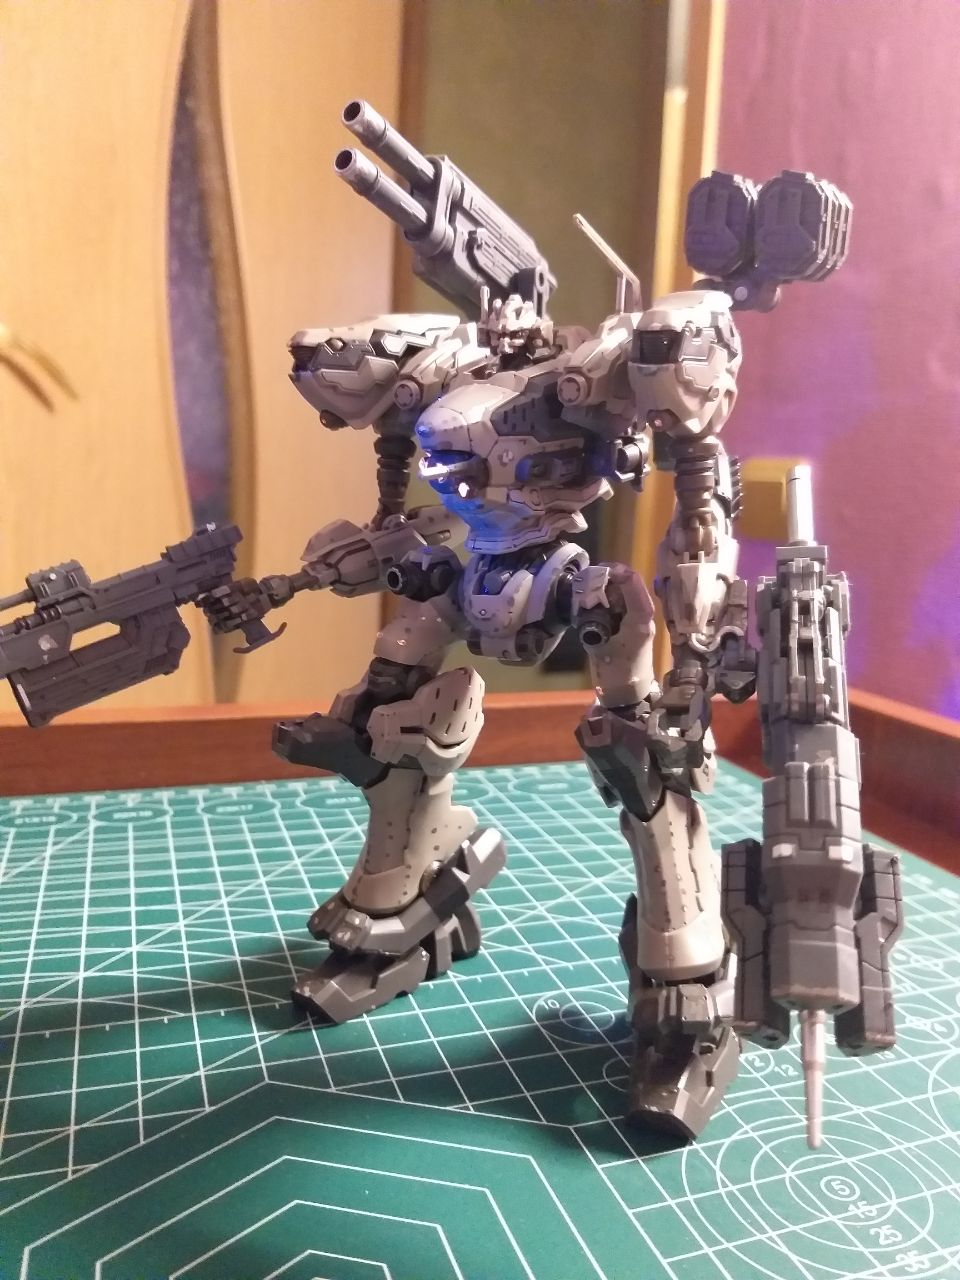
Some parts I did are not weathering, but parts of weapons or AC itself painted in a more obvious sense of the word. I did this with Pile Bunkers needle and some of its panels, some pistons, grates and boosters.
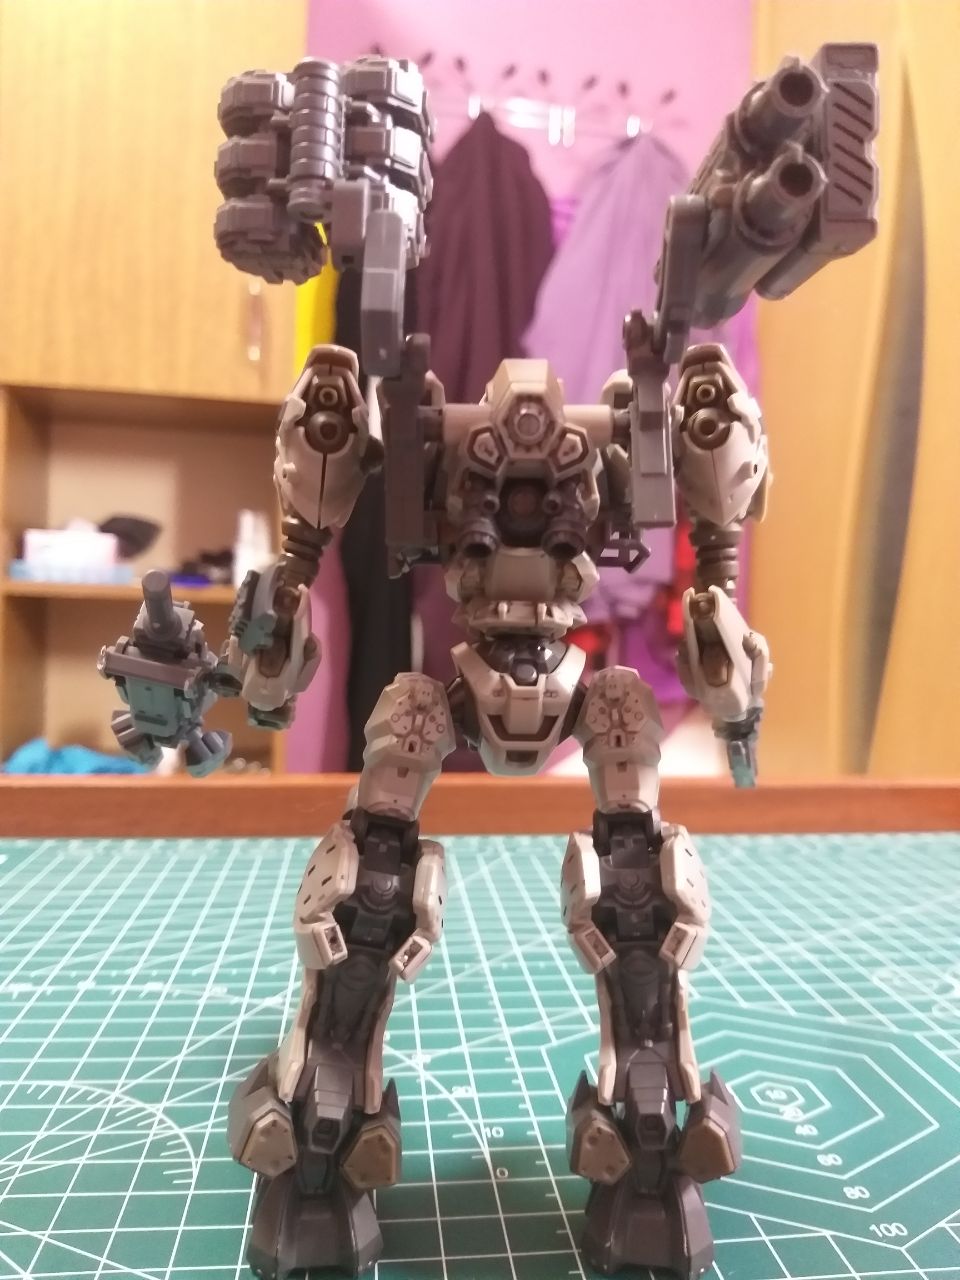
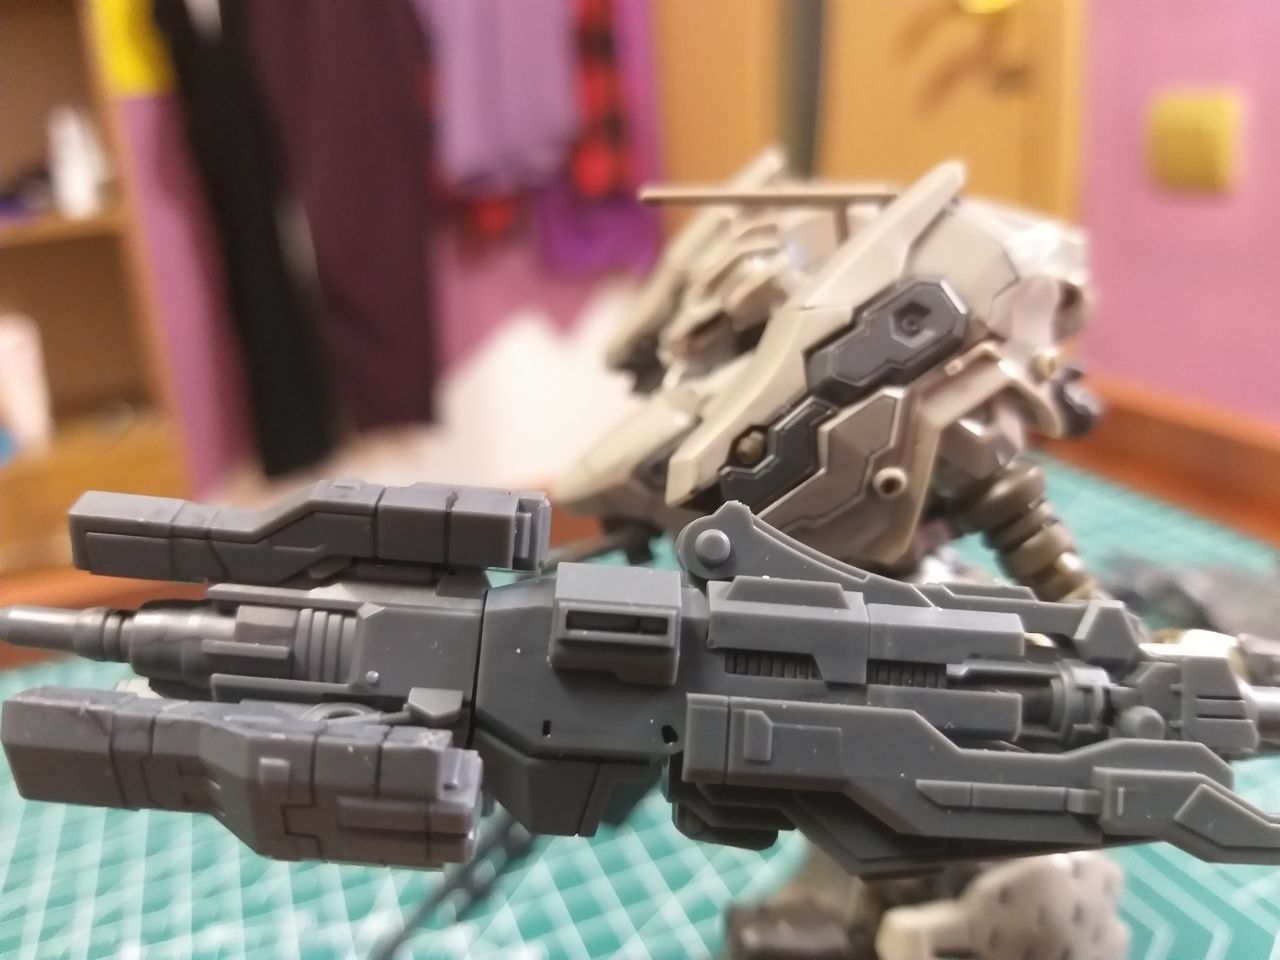
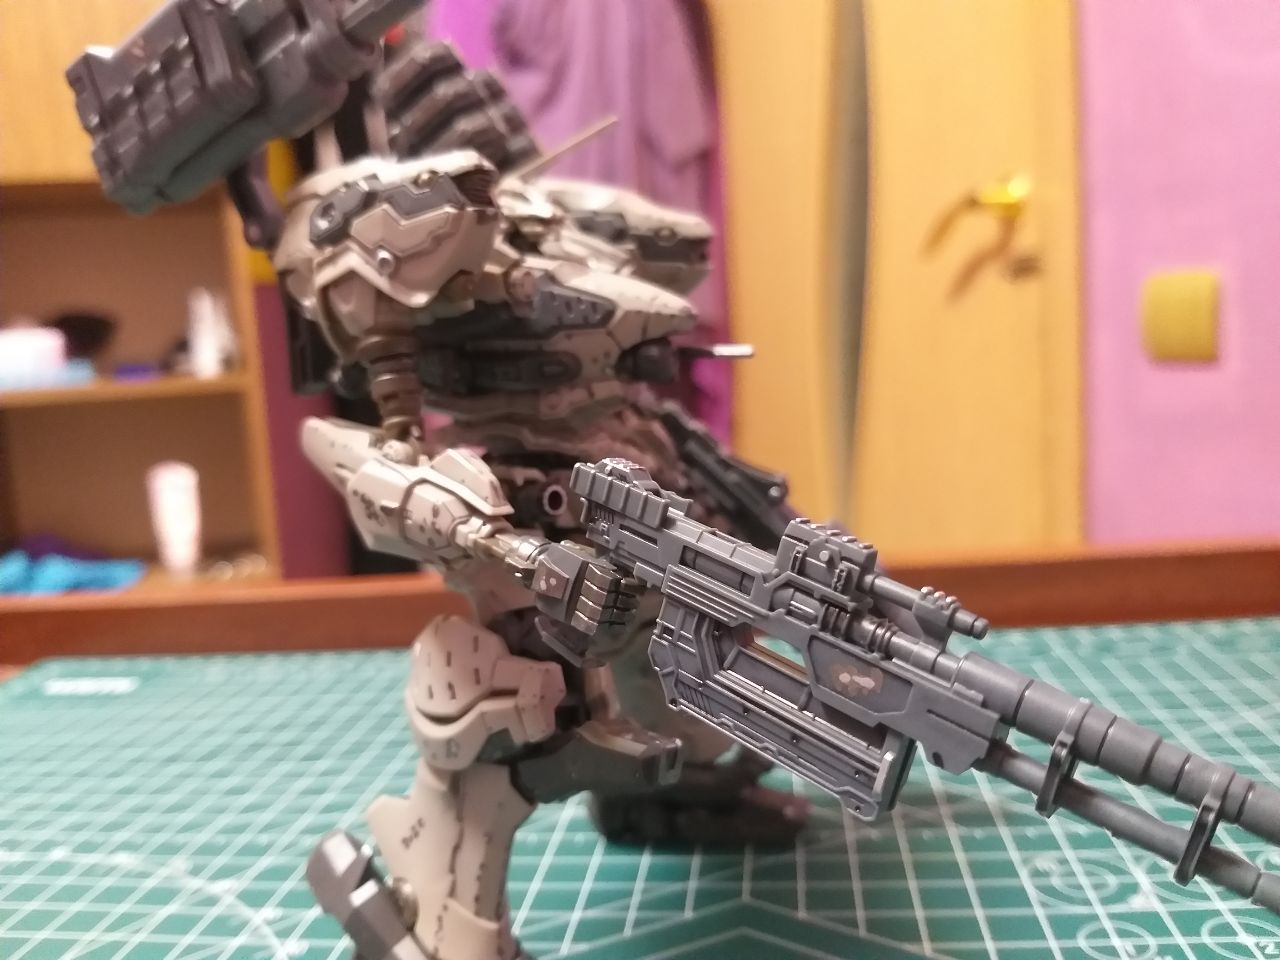
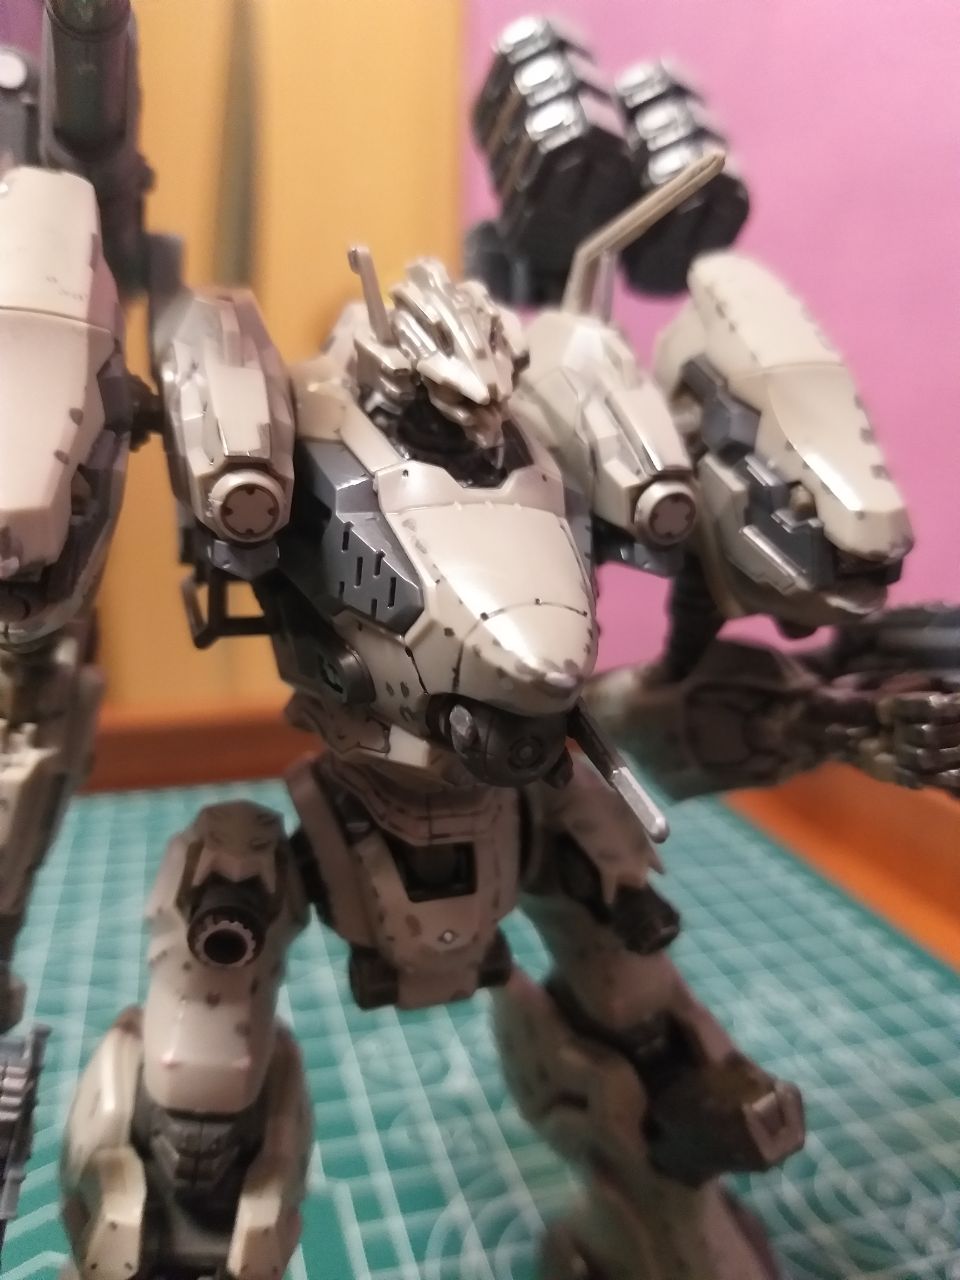
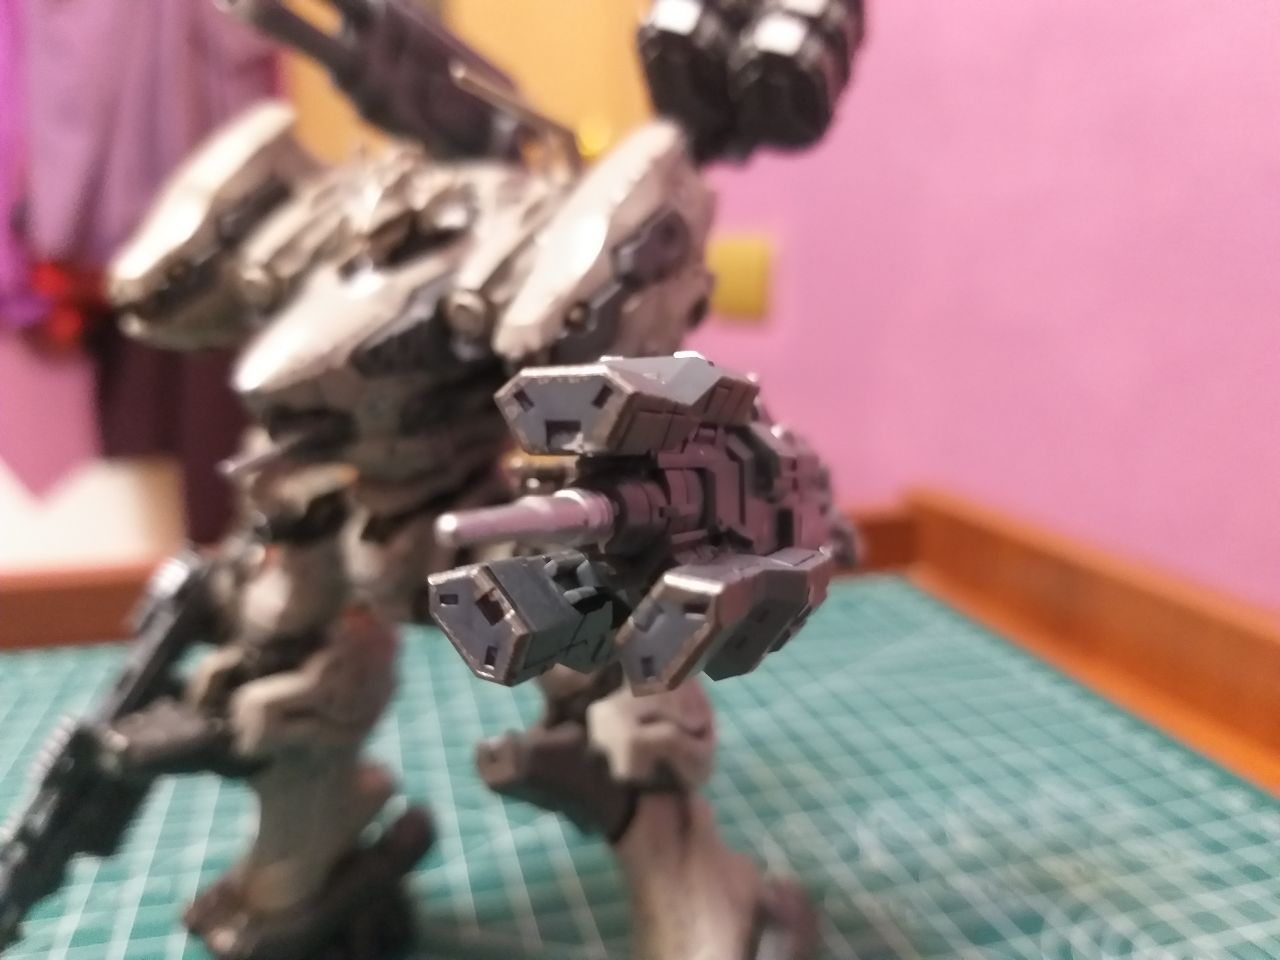
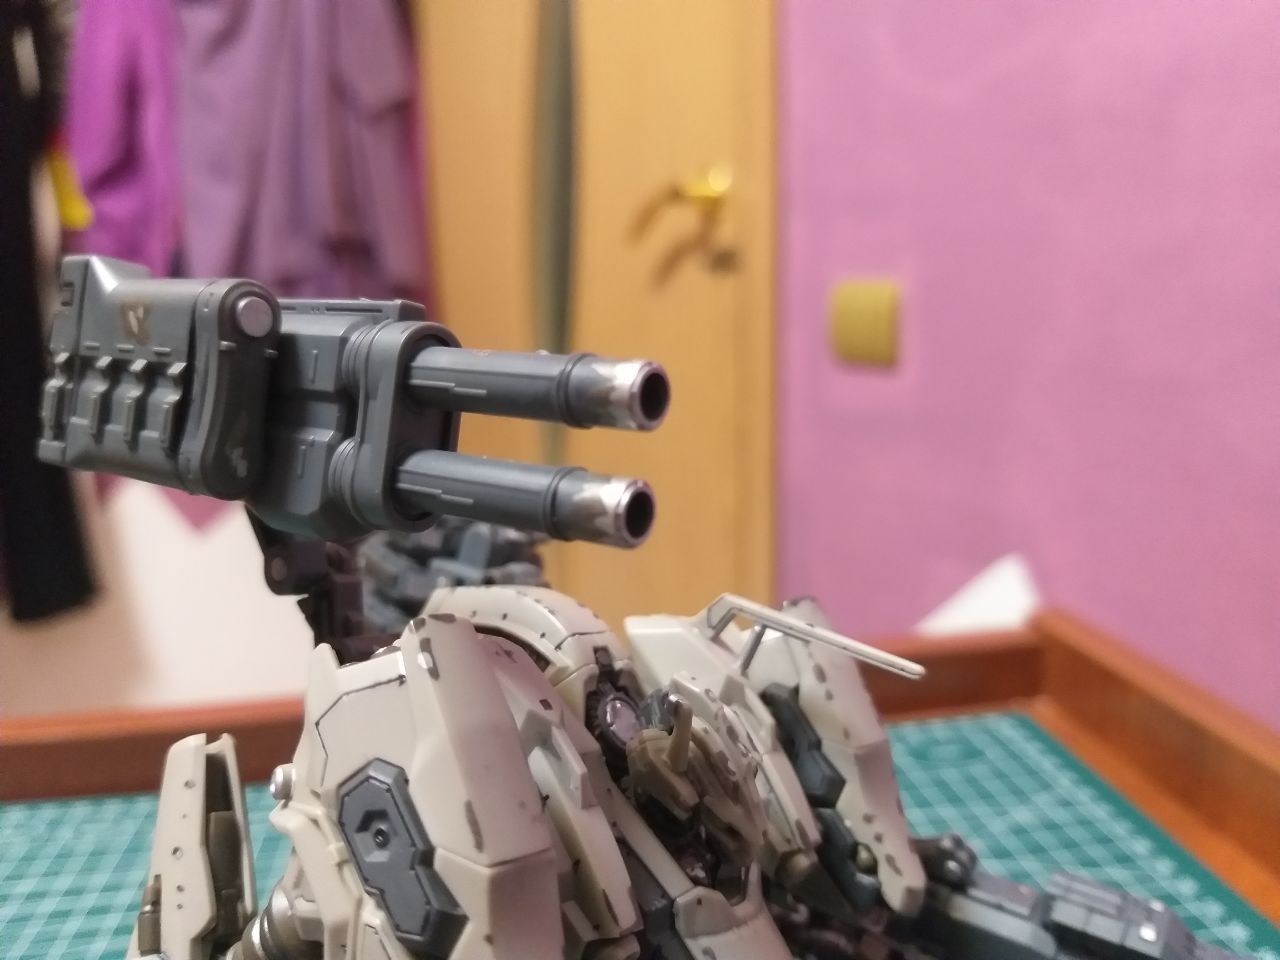
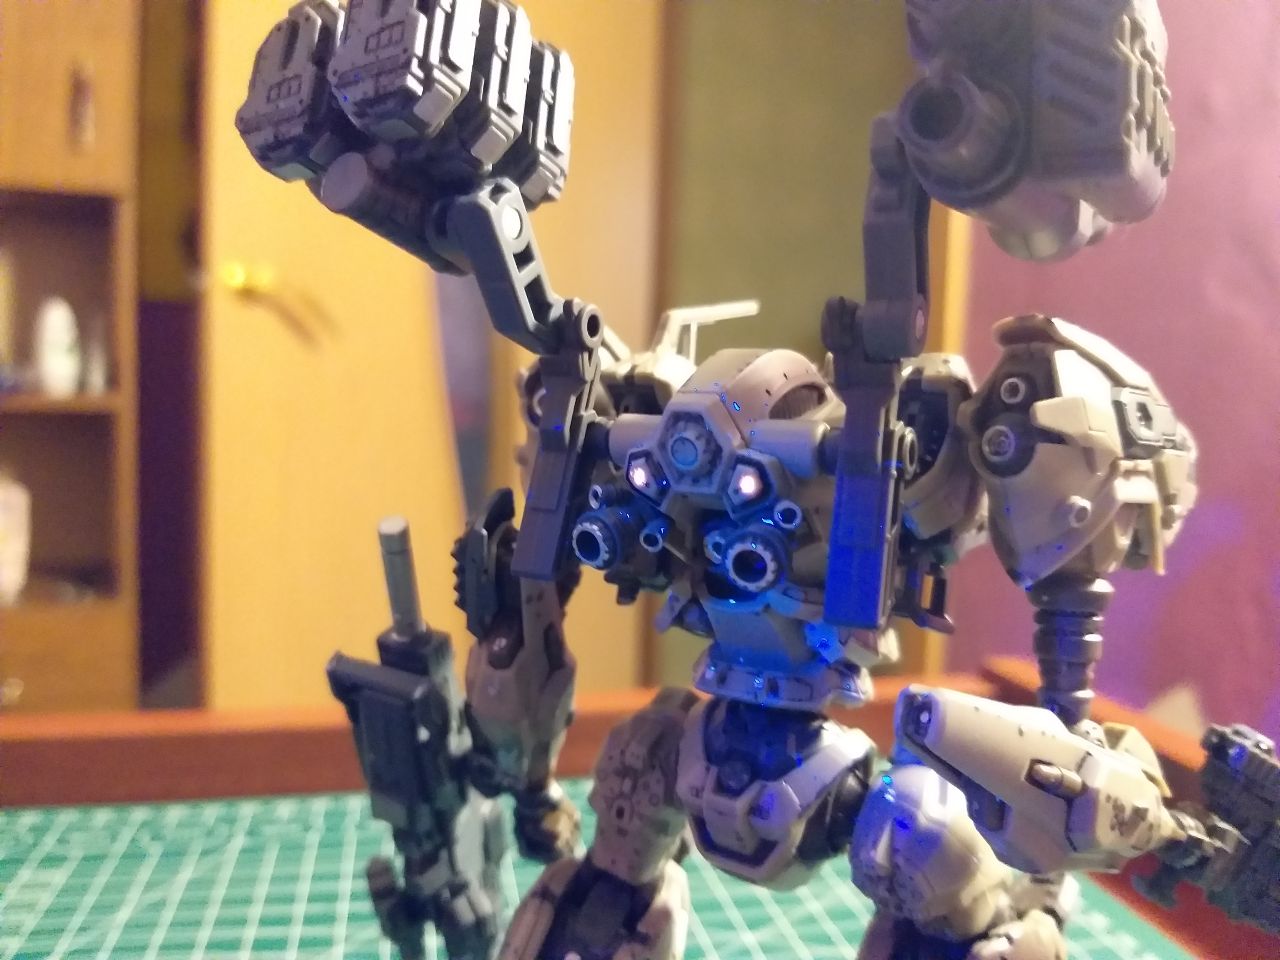
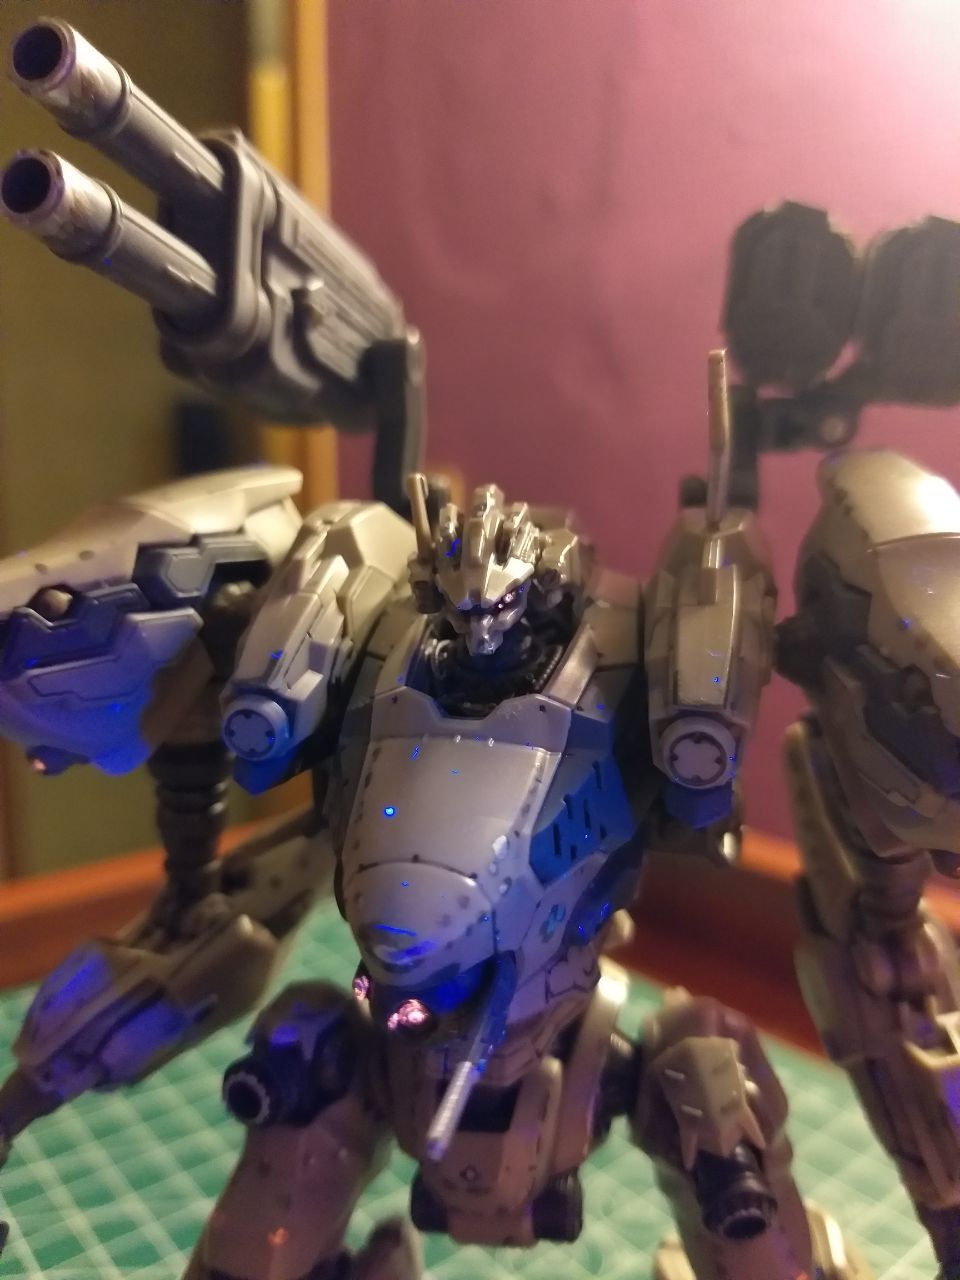
Most of remaining painting is actual weathering. Rifle and Songbirds have burned of metal, which turned out amazing! Much of weathering consist of adding small strokes of gun metal paint, and adding silver paint on the biggest patches of gun metal.
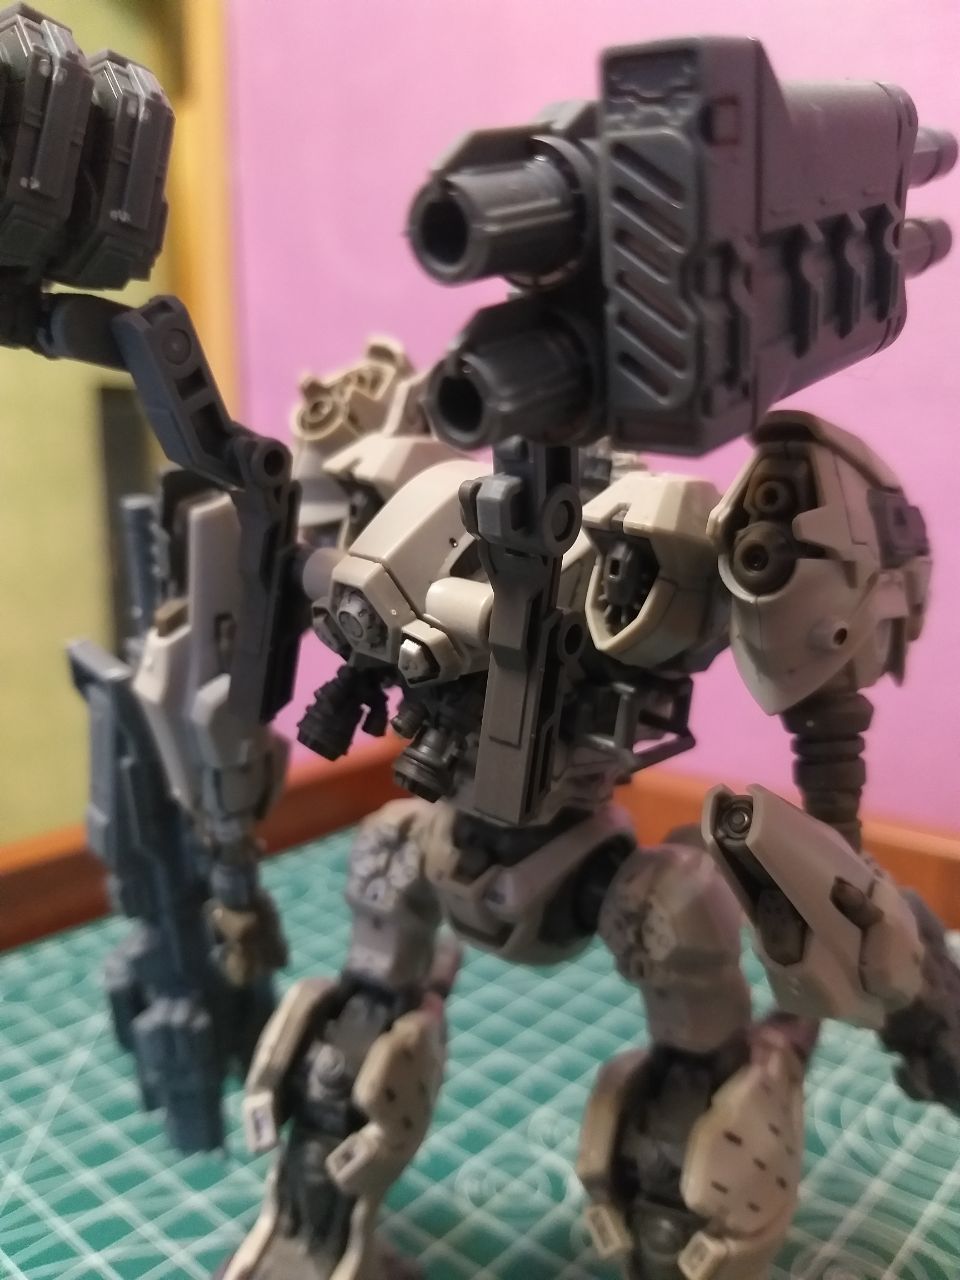
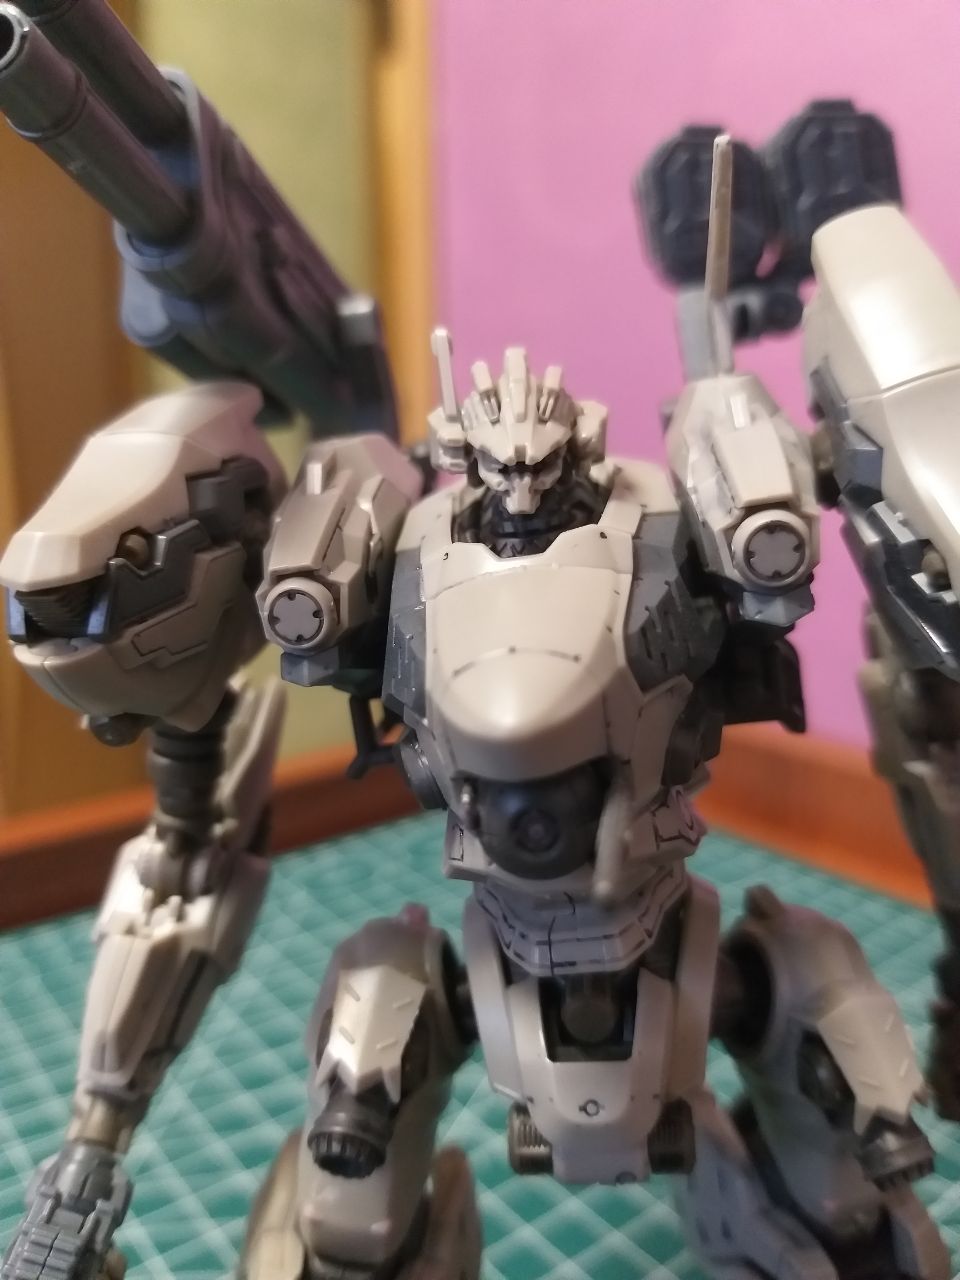
I will admit, its not the best result, but for the first time, especially with no prior experience of this kind of weathering, I think I did well:
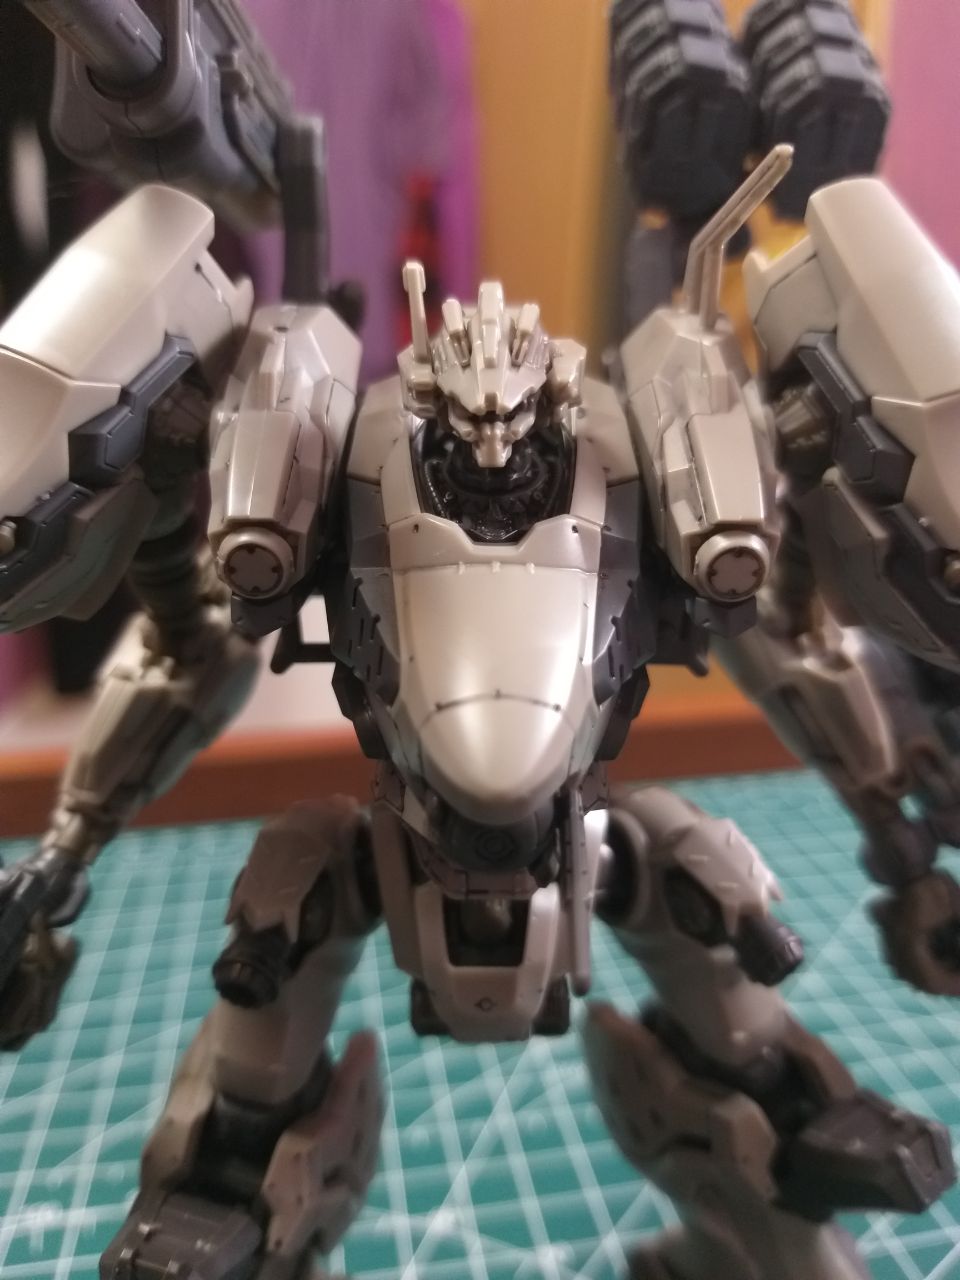
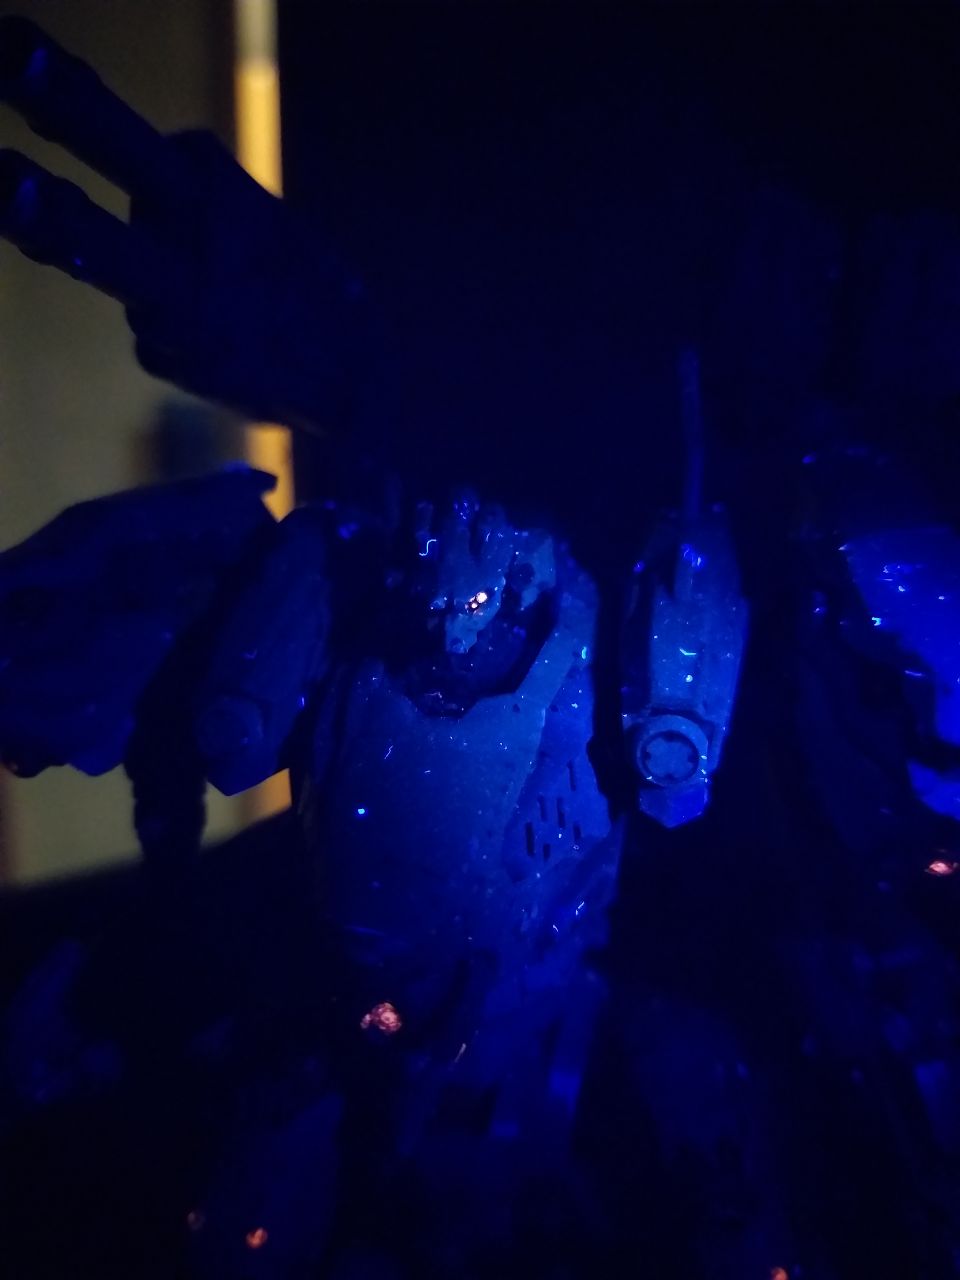
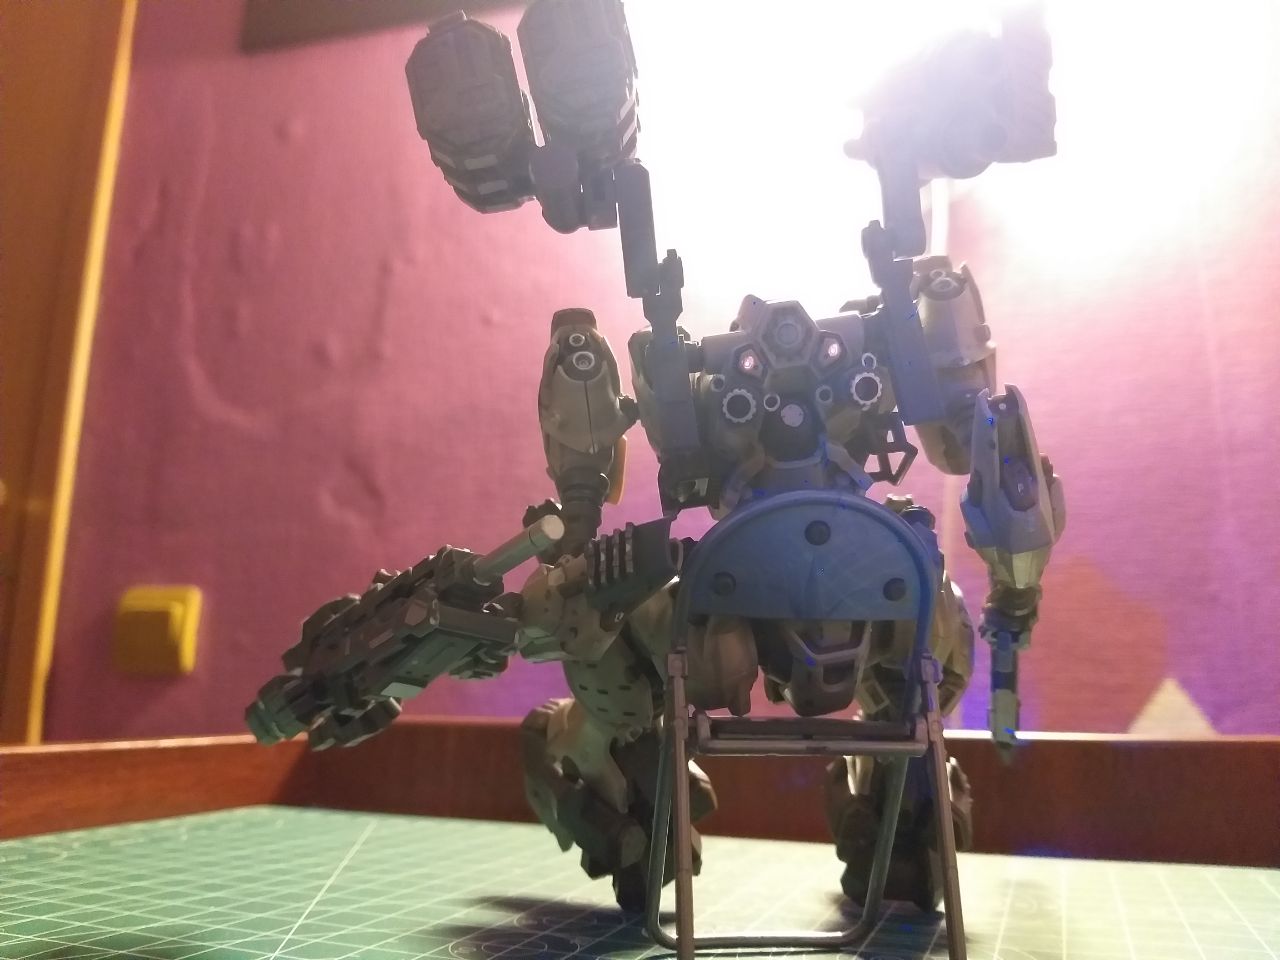
I didn't show UV lights because I didn't have a proper UV flashlight. Now I do, so here are some photos:
Most of it is not that good TBH. I blame the broken marker, given that other marker work very smoothly and easy. At least the head turned out amazing... somehow.
Aand that is all I wanted to do! I expected the painting to be awful to do, but it's not! Certainly makes me want to do more of these later.
