30.04.2025
Prettying up LIGER TAIL
So, for my birthday I’ve decided to get another Armored Core kit (unexpected I know). And I realized that while I’ve done only a handful of kits, my work process changed a LOT. So, I kinda wanted to make an updated version!
“But isn’t it too early for something like that?”
...Well, yes! I’m sure I’ll improve even further in the future, but I thought that maybe it would be cool to document how my work process changes! So there might be another blog like this later!
- The kit!
- Panelining!
- Painting!
- Weathering!
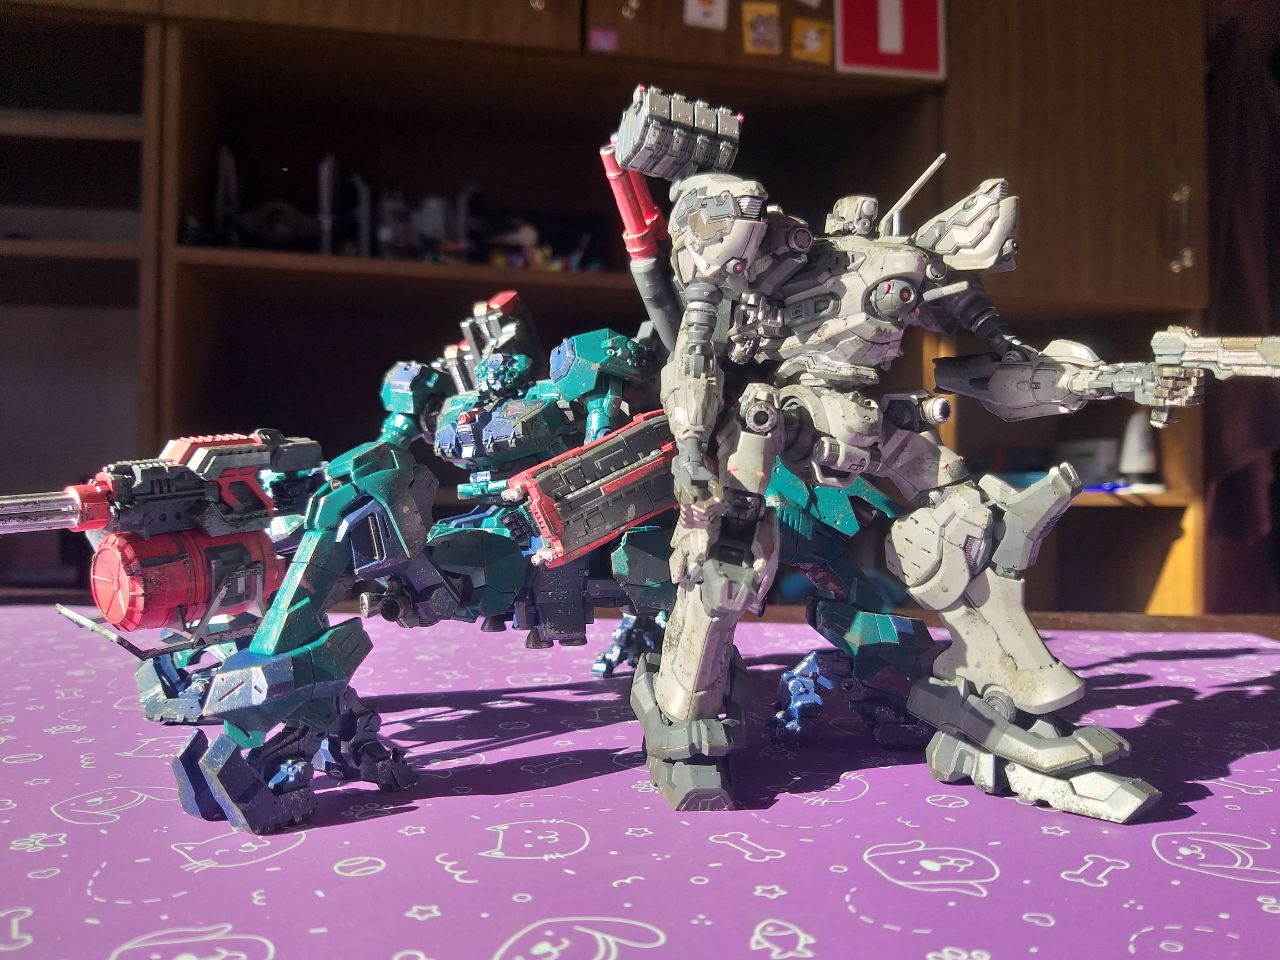
In the last blog I talked How I was uncertain about getting LIGER TAIL, since it’s a rather big kit. Well, I still think so… but I figured it won’t be as big of a problem as I thought it was. And so I decided to get it as a birthday gift.
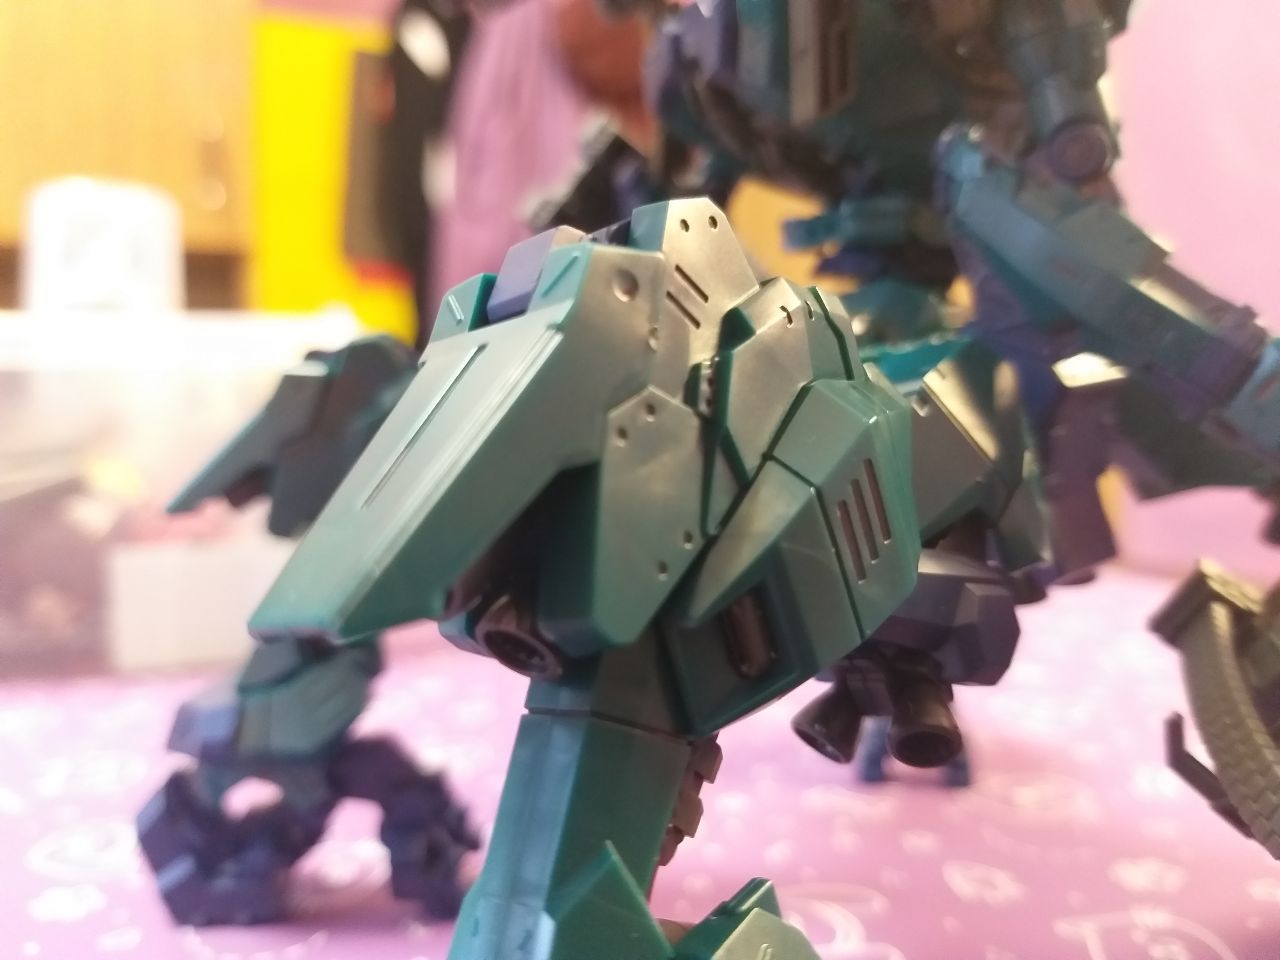
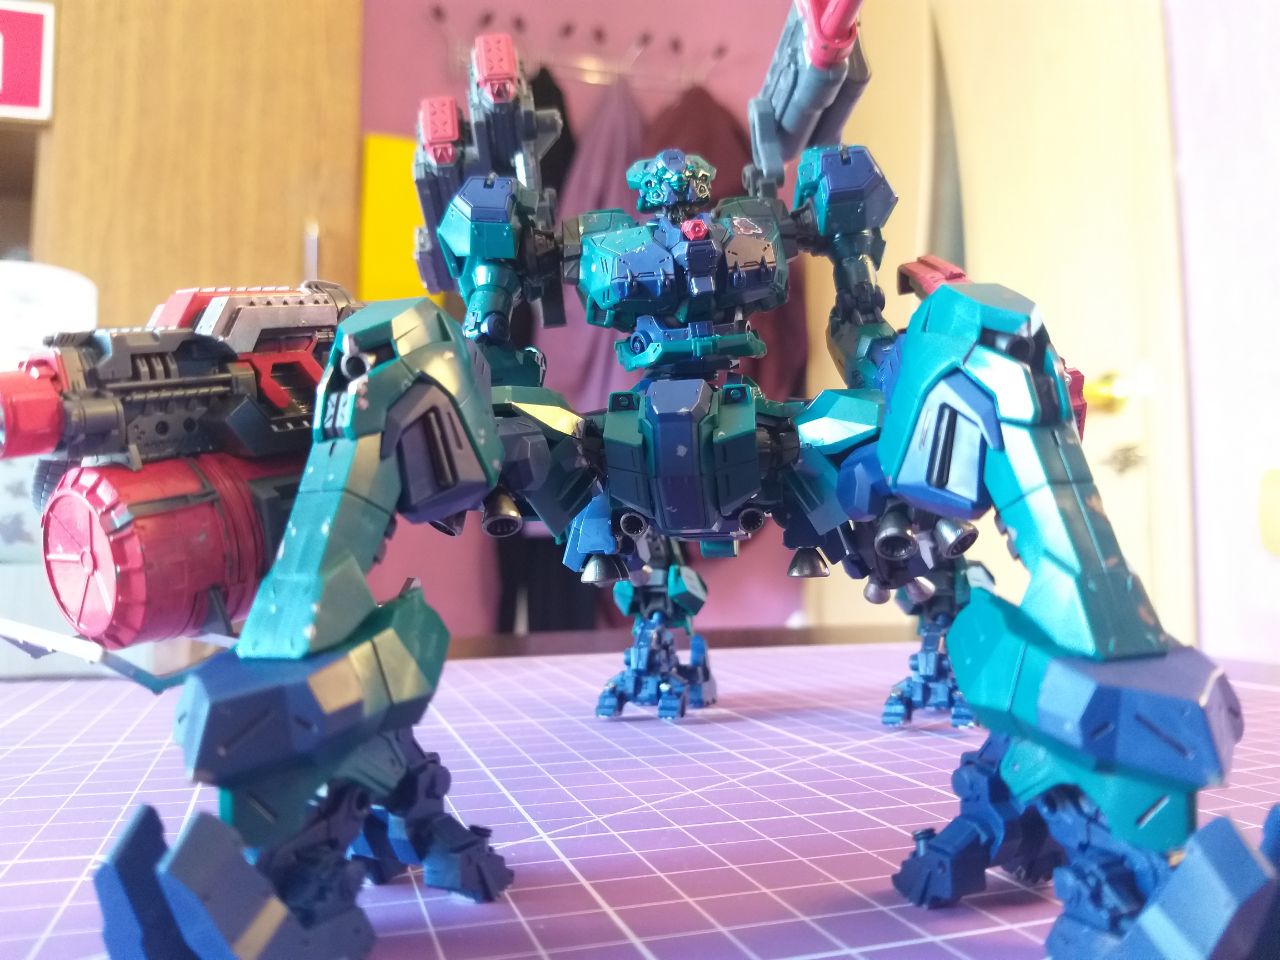
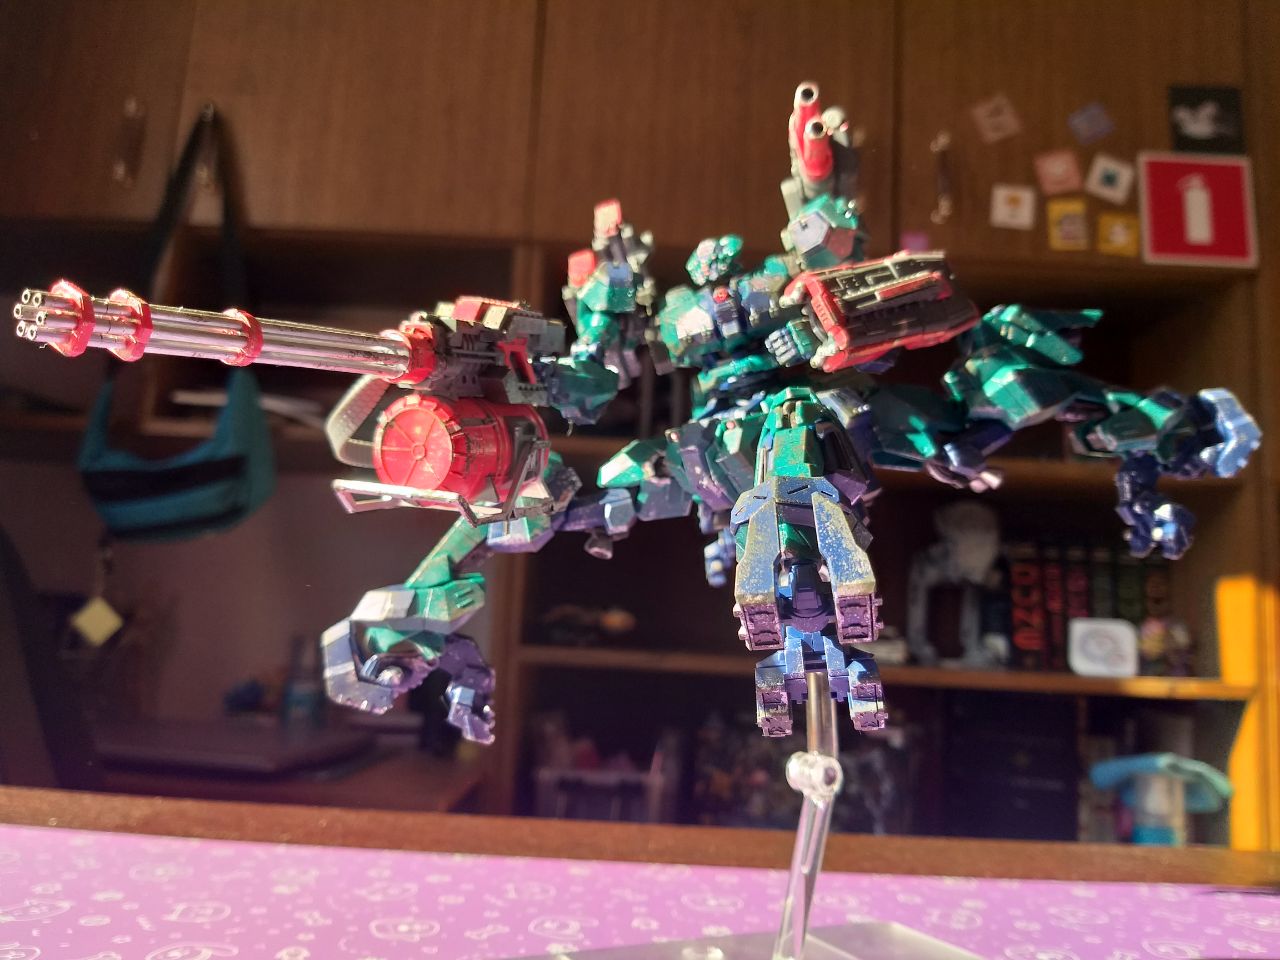
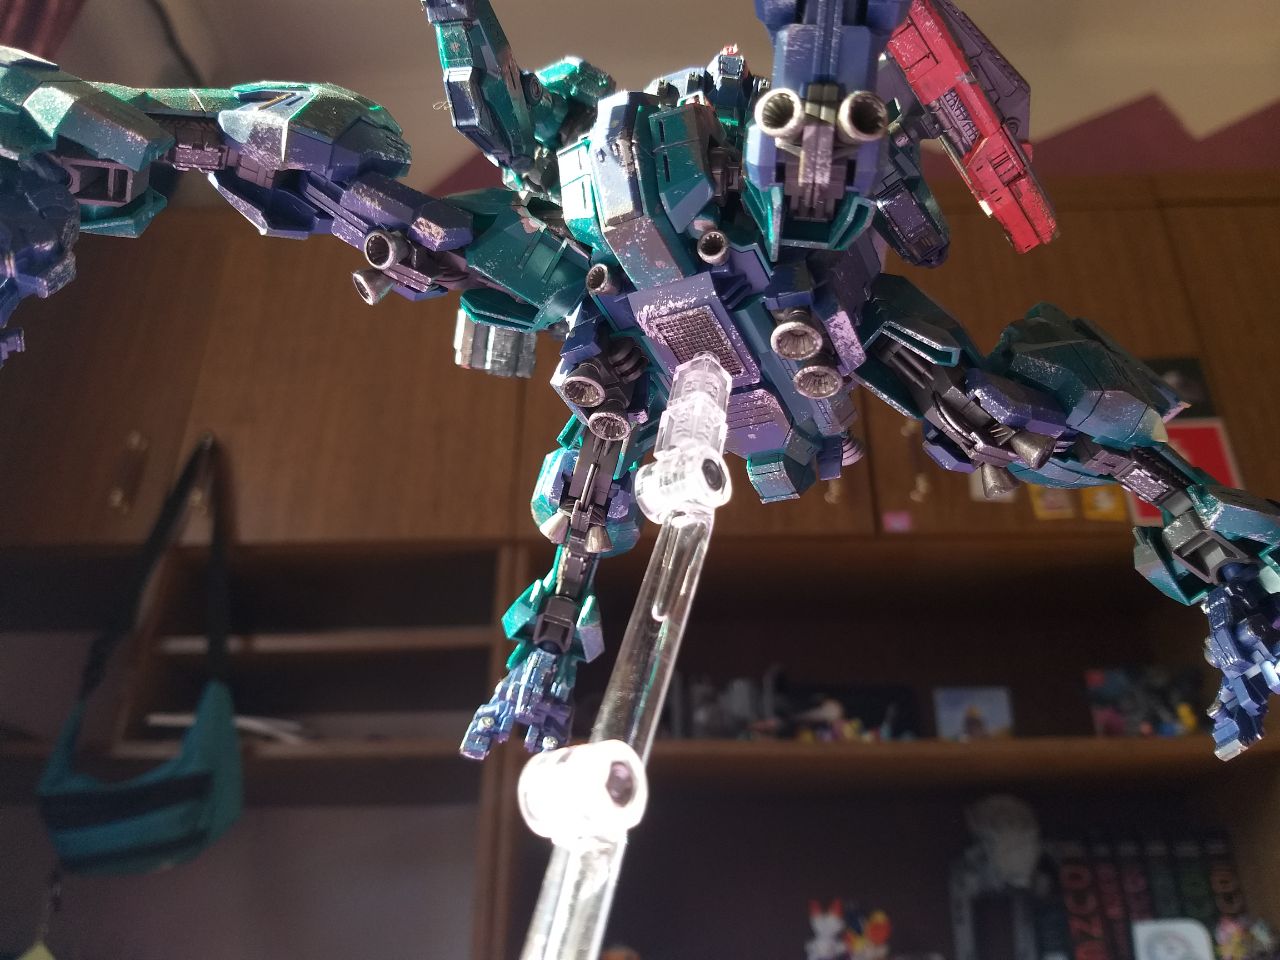
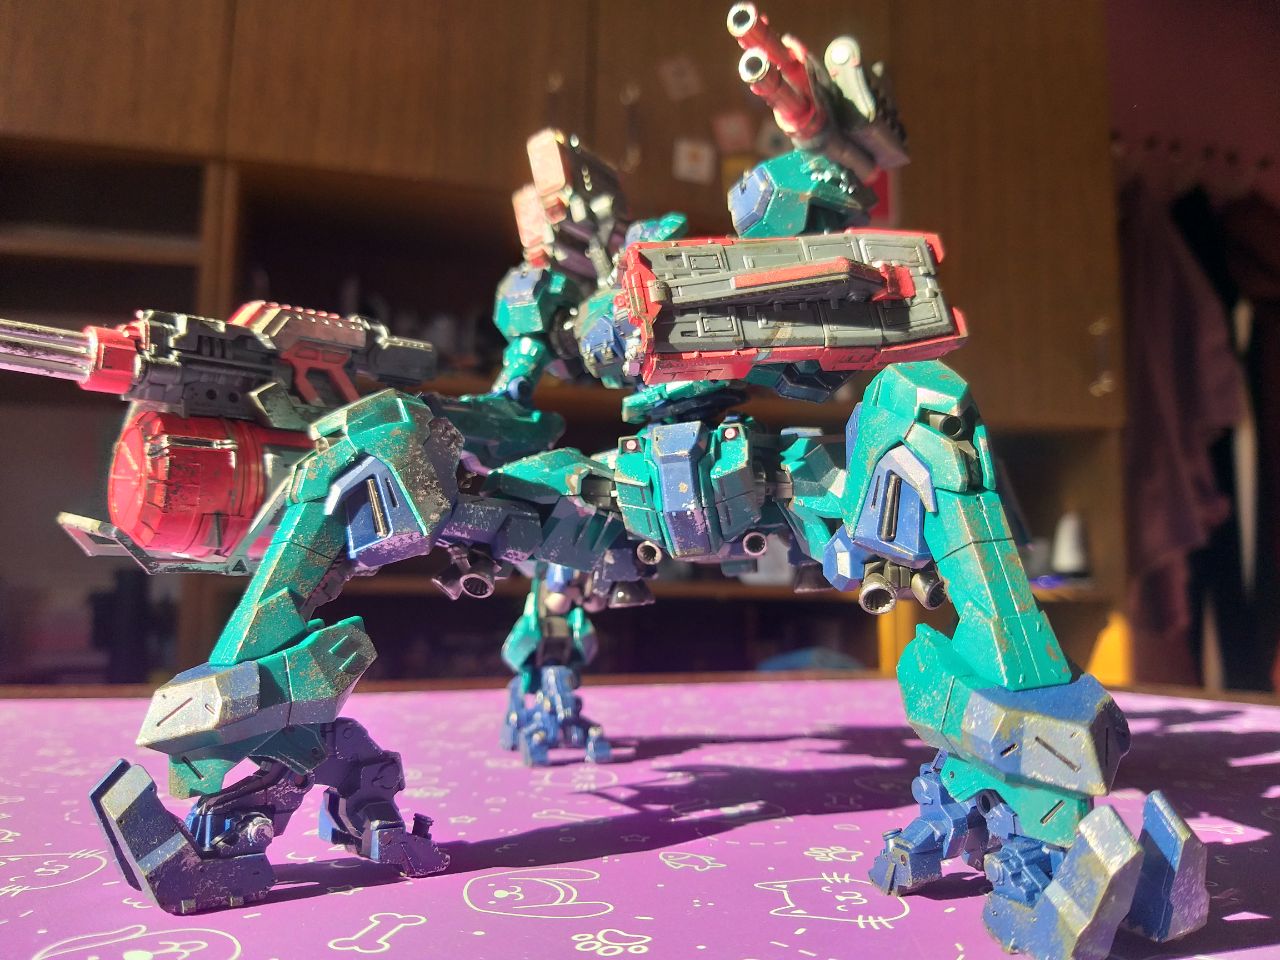
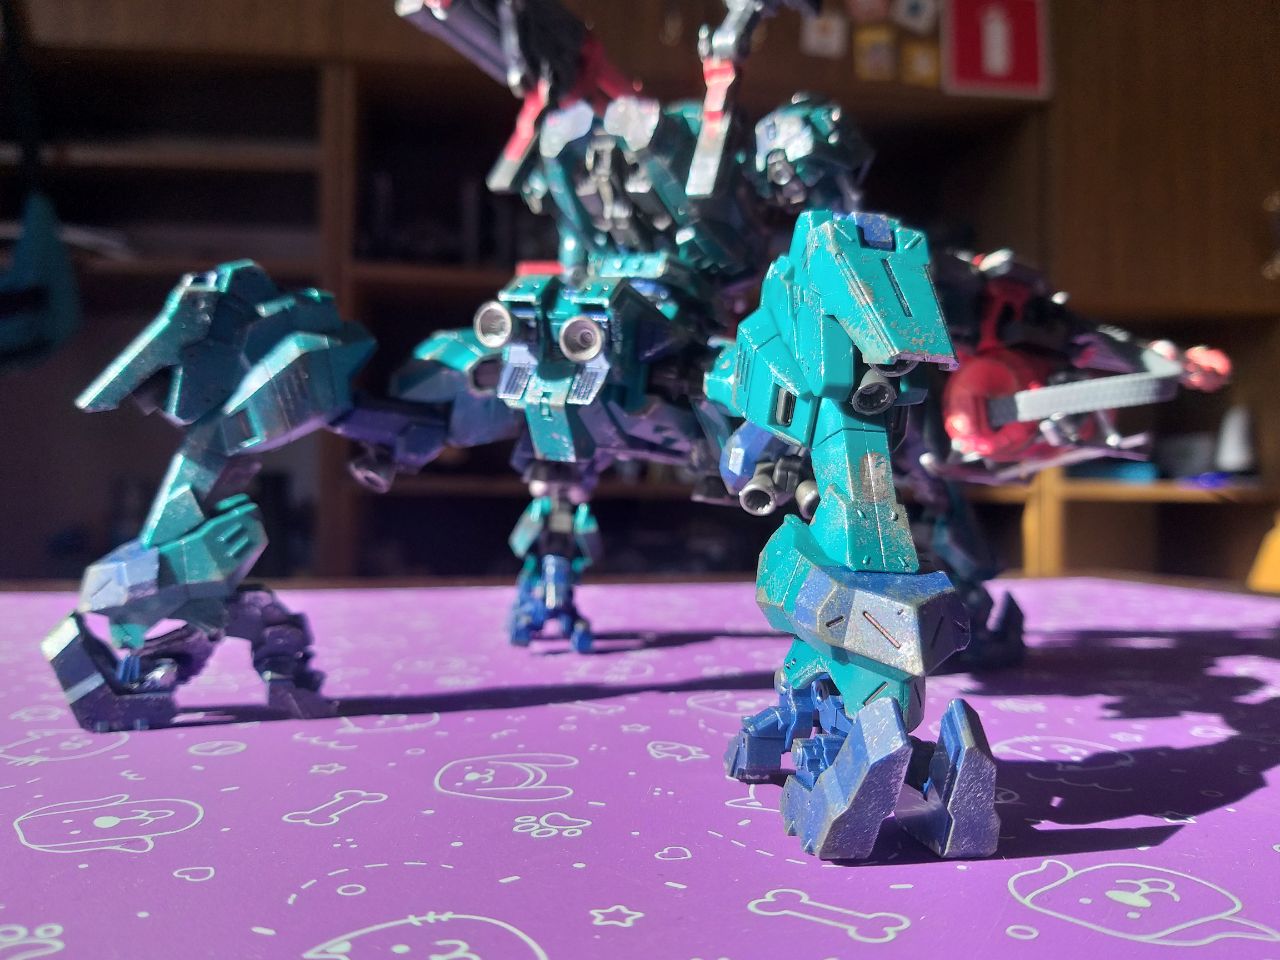
This might be my favorite Armored Core 30MM kit yet! I was wondering how tetrapod legs might be done, as four-legged mechas don’t seem to be common outside of Armored Core. Well, they’re really sturdy and about as posable as they should be! The feet do feel like they might break if moved in a wrong way though.
In terms of size, it’s quite interesting. LIGER TAIL is not *big*, in fact it’s shorter than bipeds, but it is… rather spacious. Using an action base is also a must for this one, tetrapods tend to look best when they're in hover mode. Action Base 8 by bandai works surprisingly really well here. The kit does wobble if moved, but even so it feels secure.
What surprised me is that I now have bigger respect for VERILL parts (head and legs) design-wise. I still like MELANDER C3 the most out of Balam frame parts, but if anything, it just means I’ll have an even greater building HEADBRINGER… whenever it happens that is.
(Click on images for a better look)
The gatling gun’s barrels are absent on these photos because I painted them ahead, more on that later.
Not much to say here. I still do it the same ol’ way: basic black marker and cotton swabs. I do it much smoother now though!
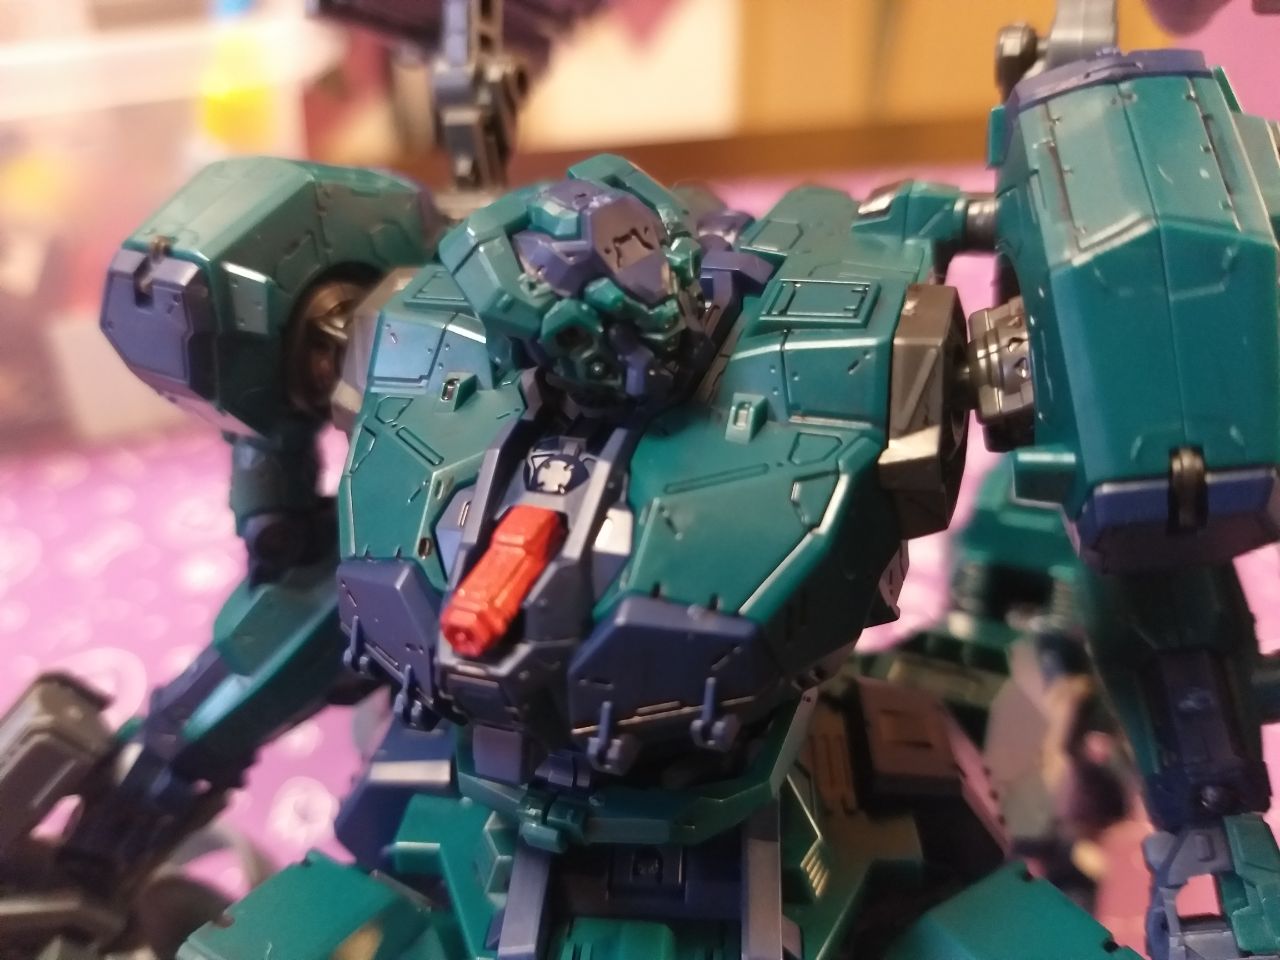
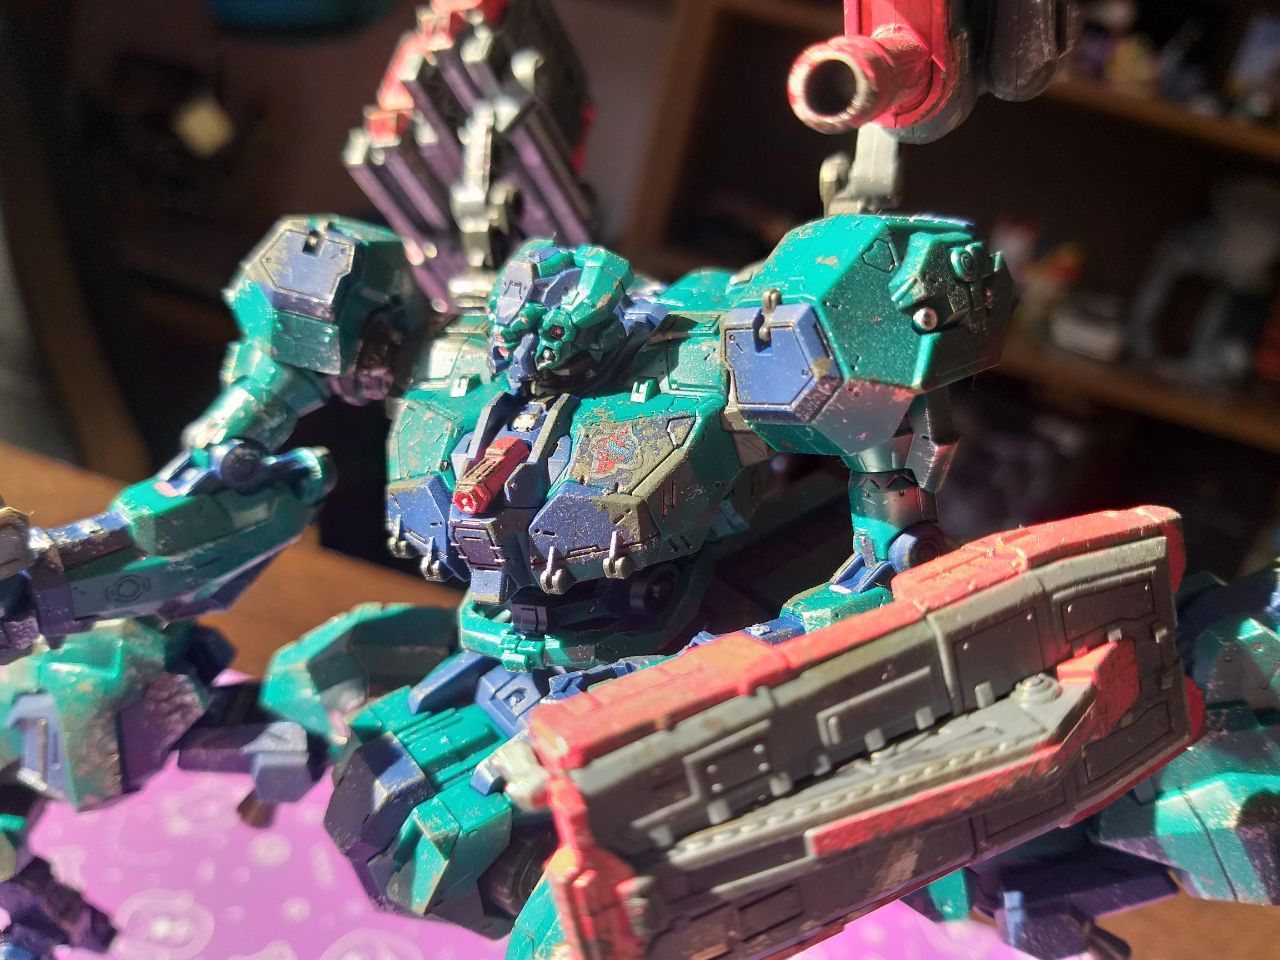
Lotta panels to line here, most on the core and arms, but also not nearly as much on the legs. The red part is difficult to get out of the build once it is in it, so I painted it ahead as well.
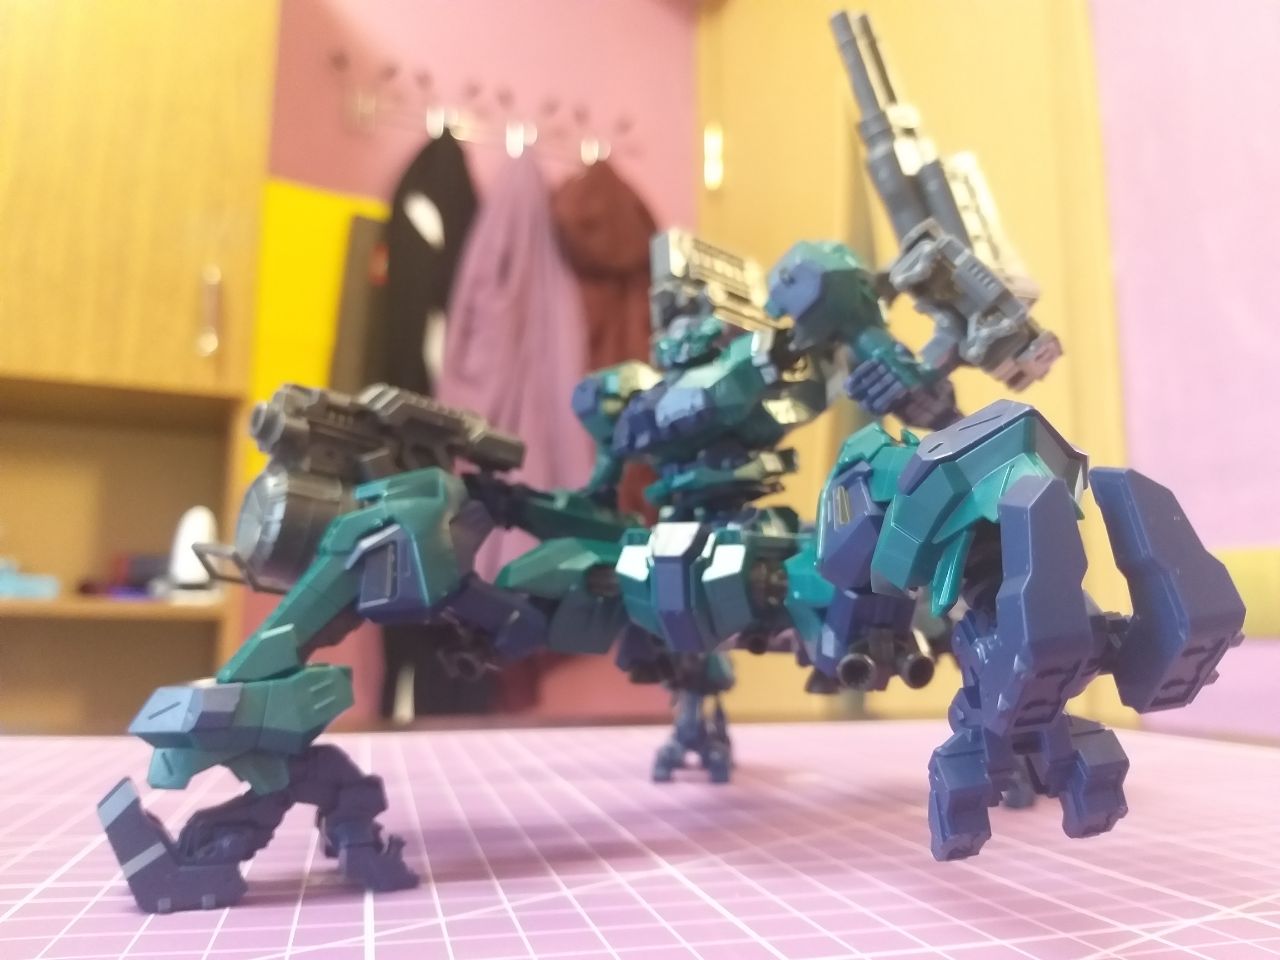
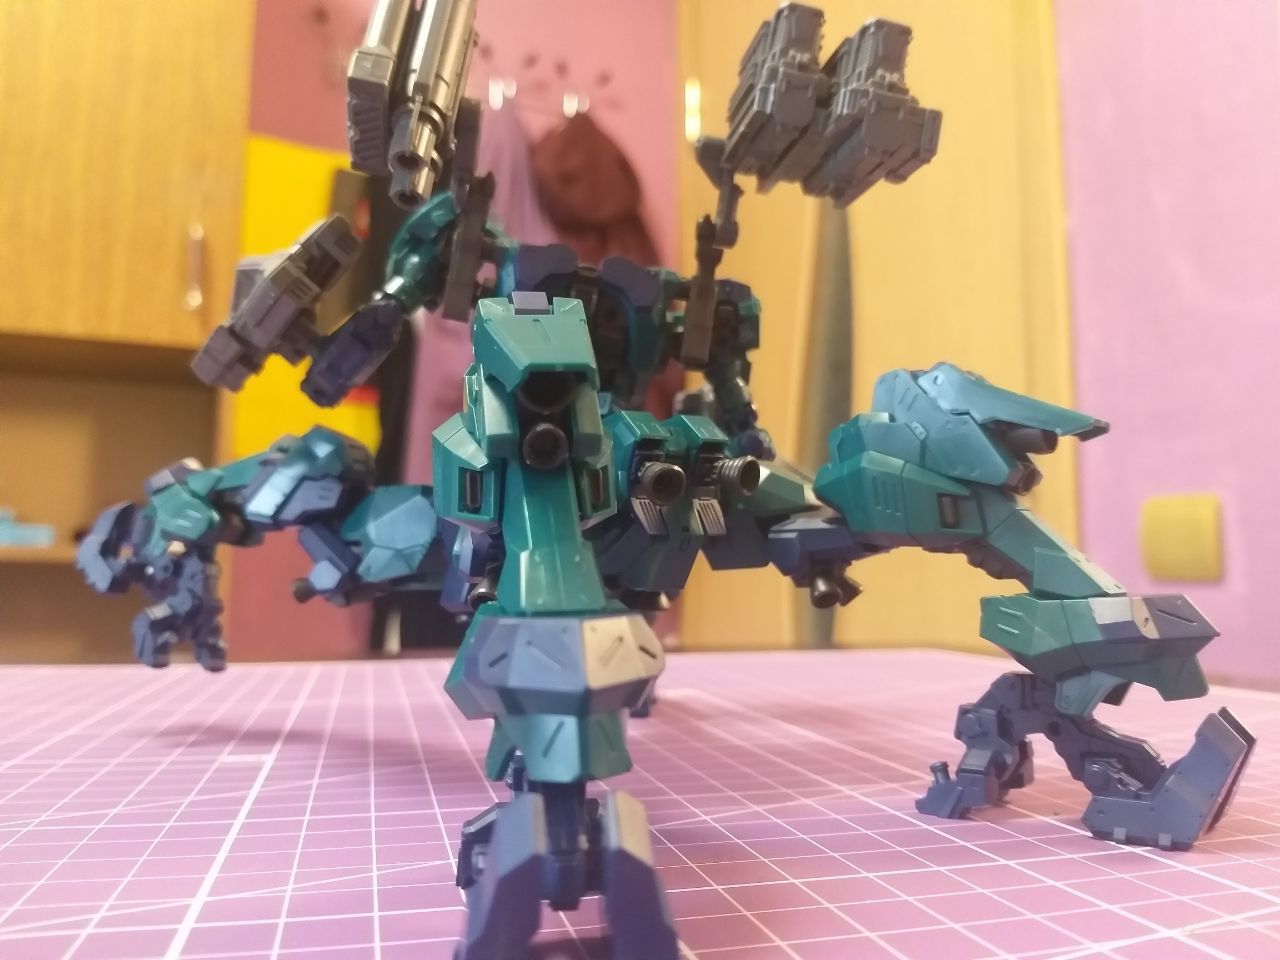
This is probably the most color accurate AC kit yet. Still, there’s a lot to paint to add to make it just right.
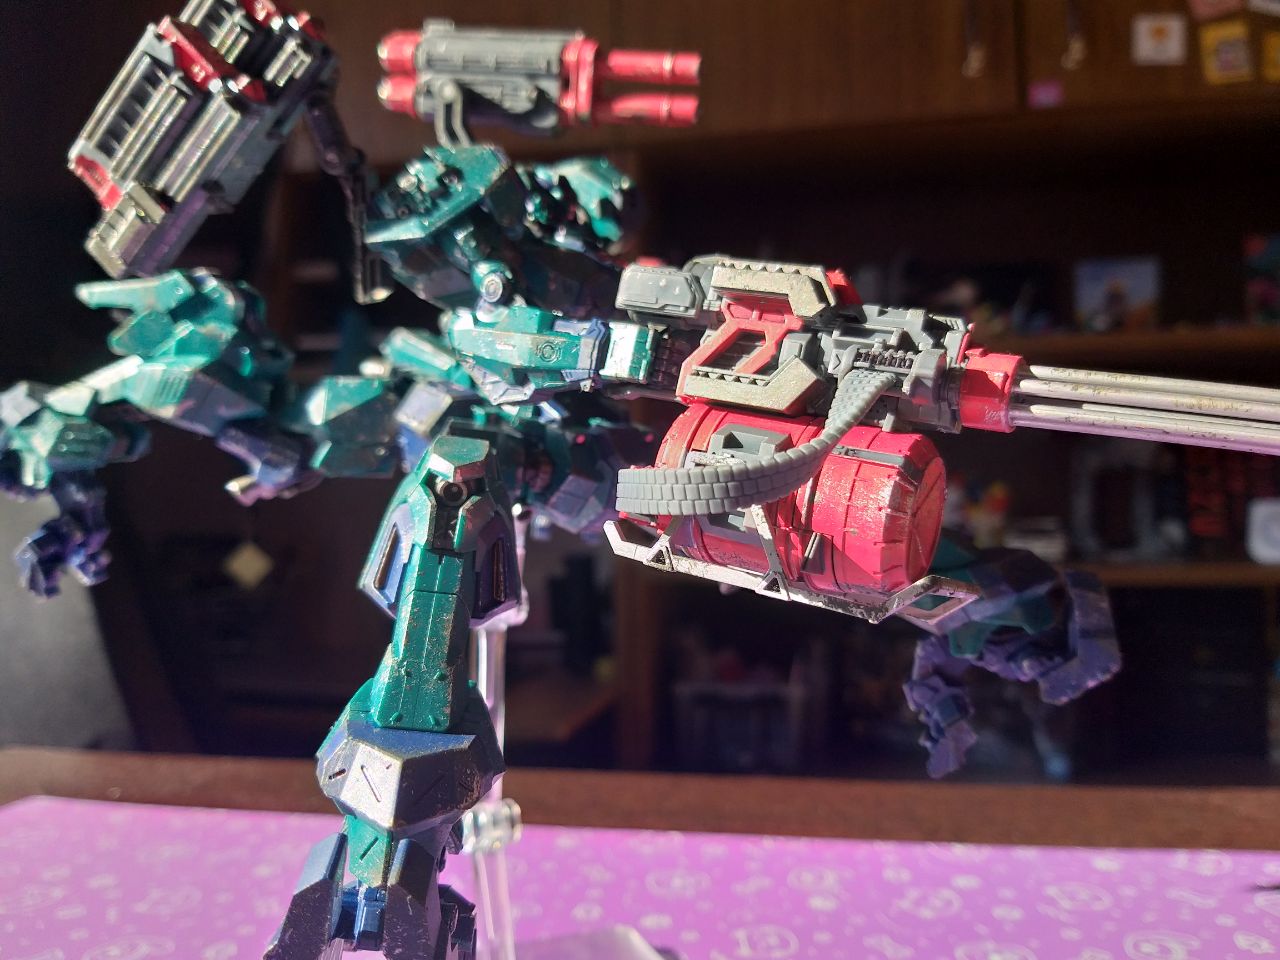
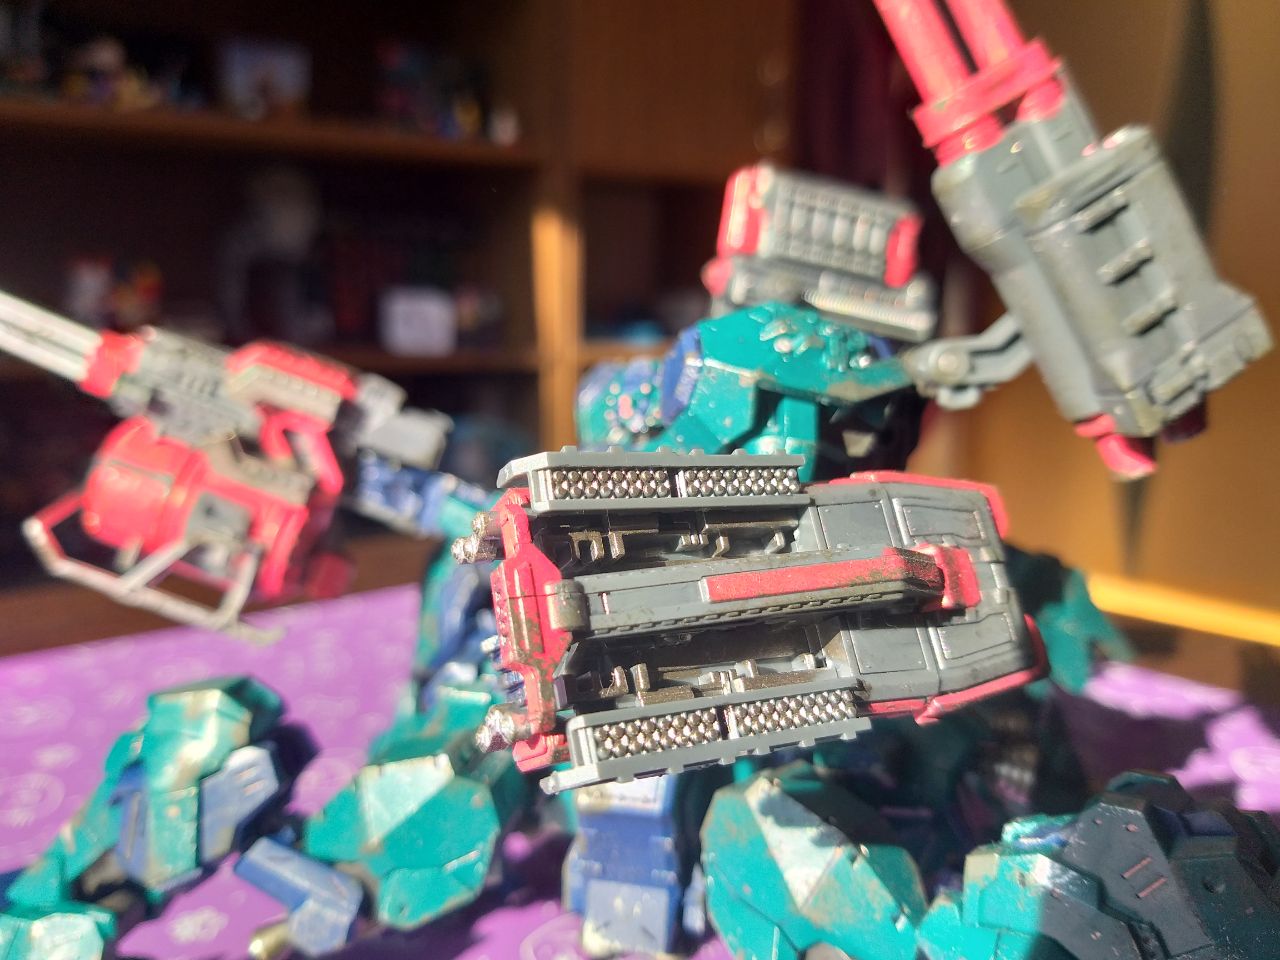
The last kit I got before LIGER TAIL was Weapon Set 4. It features most of the weapons that are also in this one, including the gatling gun. And this time I tried a different approach with it, knowing it’s a bit of a hassle to paint it.
This time I painted each part of the barrels individually. It went well… until I remembered that the octagonal piece at the front is secured rather tightly, more so with paints on the parts... And that it has to be placed in a certain way. I ended up resembling the barrels twice. It’s not actually that bad, I just sorta made it worse for myself. Thankfully it was the very first thing I did, even ahead of building everything else.
All of the weapons also lack red bits. It’s actually the only color that’s needed to be added, the grey of the plastic is pretty much identical to the source. But I did went a bit extra with metallic colors. I mean, why not? It looks cooler that way.
This kit is the only AC 30MM kit so far to feature color correcting stickers. Now that I built it, I do think they’re justified, but I’m also not a fan of them. They’re SO tiny!
Well, conveniently enough I now happen to have a nice dark blue paint, which worked really well as a substitute for the stickers on the arms. I also used the same paint on the left “pec” of the core, which should be like that anyway.
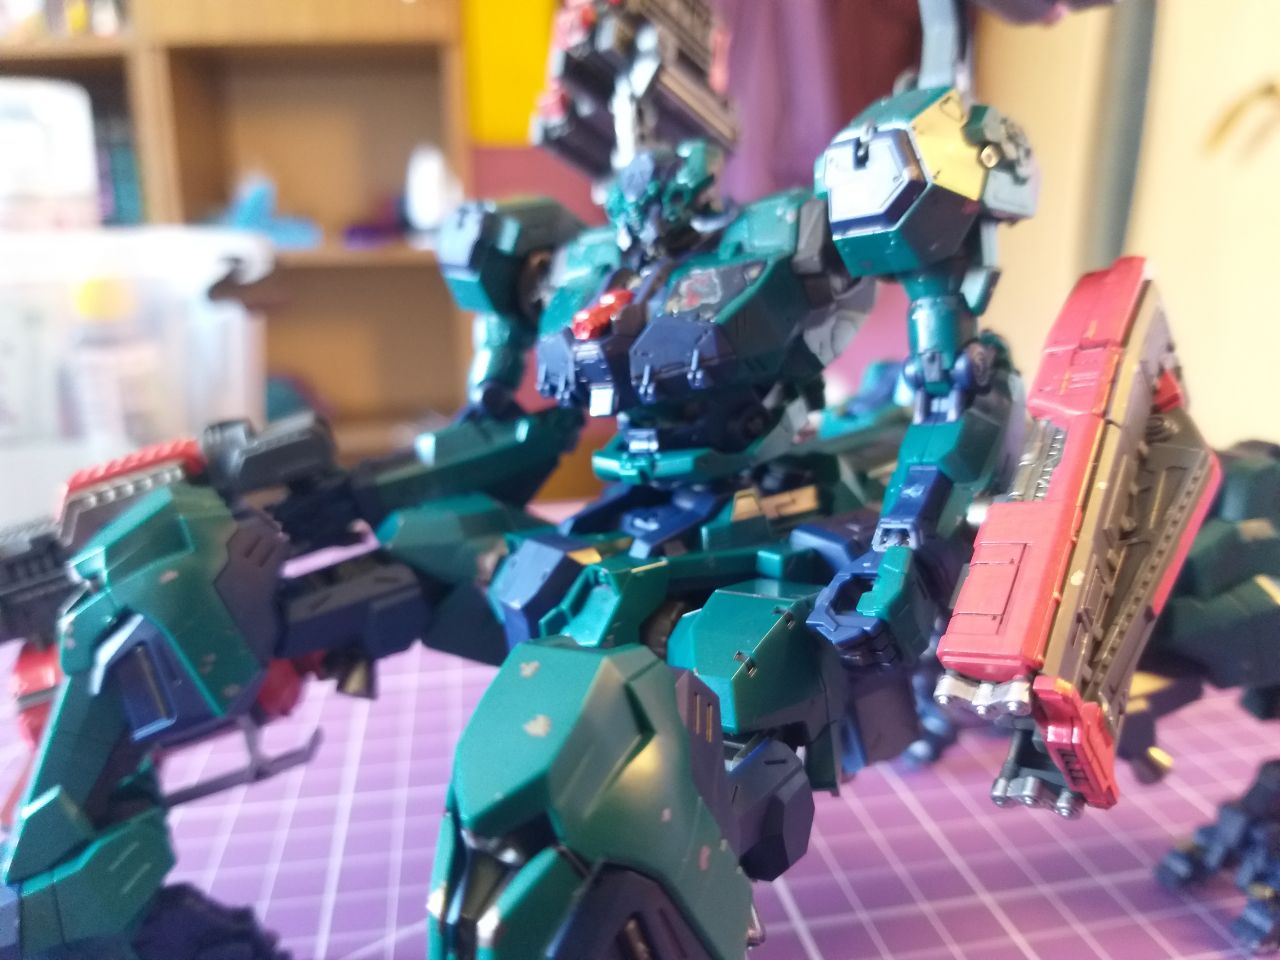
The rest of paints were done with metallic markers, mostly gun metal. I added some damage details that were caused by a blade. Something like this can be done in a more literal way… with a knife, but I’ve not used this technique in practice yet, and it is very easy to fumble it.
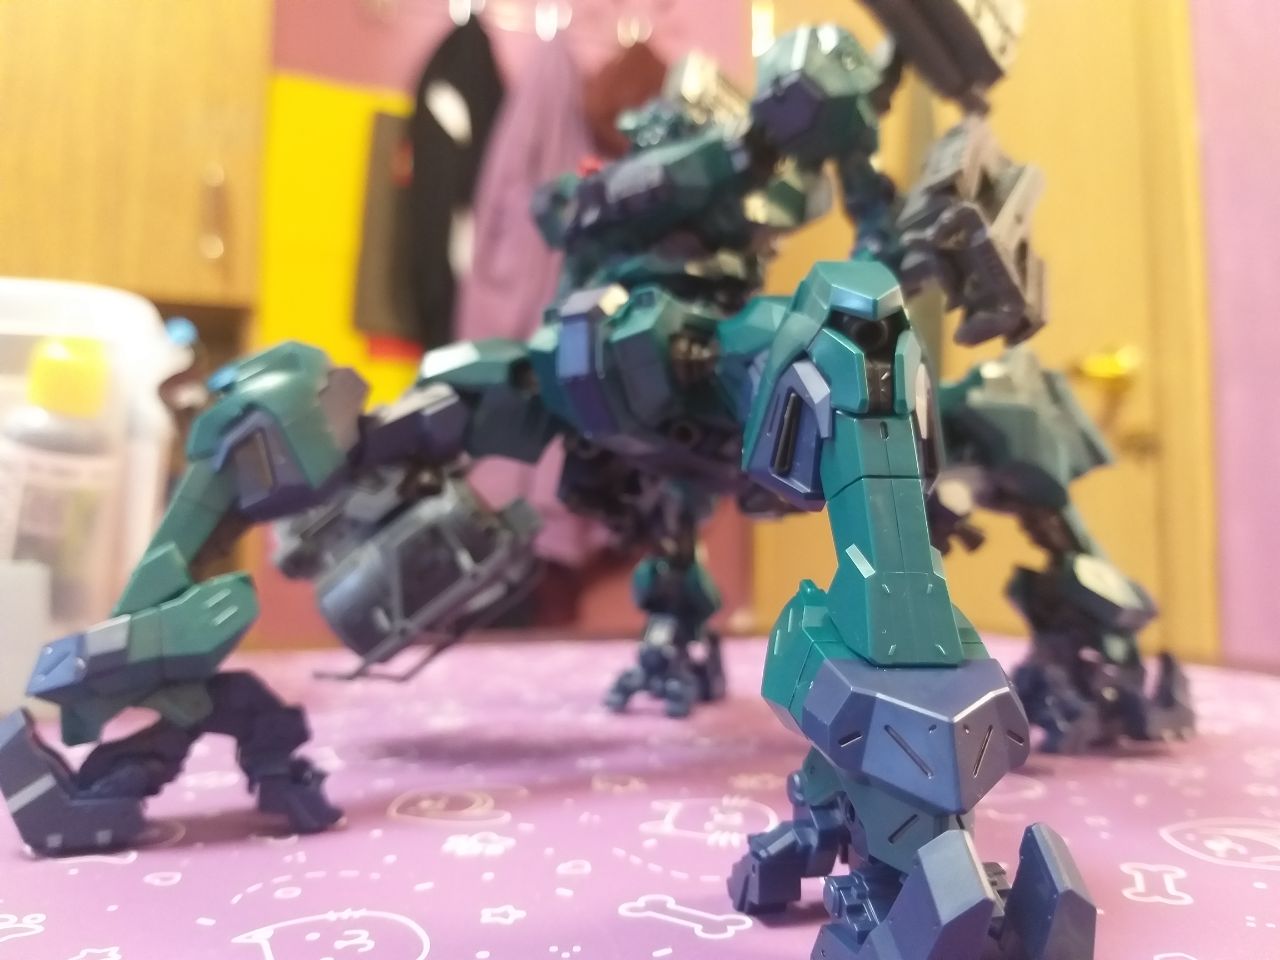
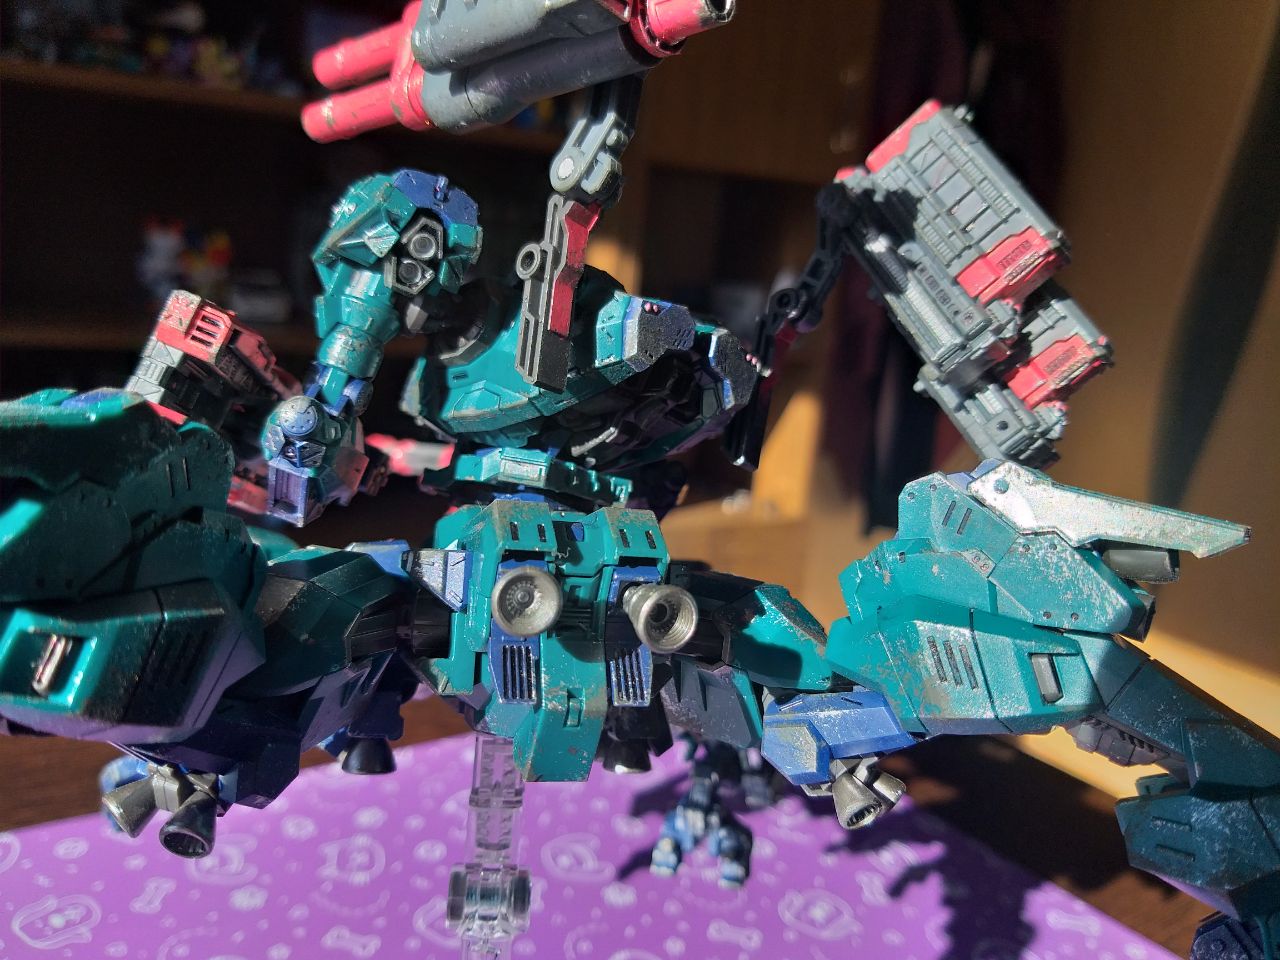
Actual weathering this time! I still do that drybrushing adjacent technique of using a piece of a kitchen sponge. I just do it more moderately now!
Though… because there are 2 layers it still ended up feeling like a lot. The first layer is a silver paint, to imply chipped off paints, and the second is a grey paint… to imply muck. Not much else to add here, This is simply a fun thing to do, even if it takes a bit with a kit this big.
After that I painted the lights, which are sparse on Balam parts, and applied matte coating, And done!
And as it turns out, natural light tend to make prettier pictures too!
There’s still room for improvement… on my workflow that is. I’ve yet to find a proper balance for the drybrushing part, and I may want to move more to painting with bruches rather than markers. The red one, while it works, required multiple layers, which is not the case with the metallic ones.
As for LIGER TAIL itself… the red parts should be darker, which I realized a bit too late. I could’ve avoided the stickers on the core too cuz the grey paint I have is pretty close in shade anyway. But hey, I still think this might be my best work on a kit yet!